
Real HTTPS for Every Homelab Service – Let's Encrypt Wildcard Certs Without Exposing Anything
Valid Let's Encrypt certificates for every service in my homelab – with a wildcard cert, DNS-01 and Caddy, and without opening a single port.
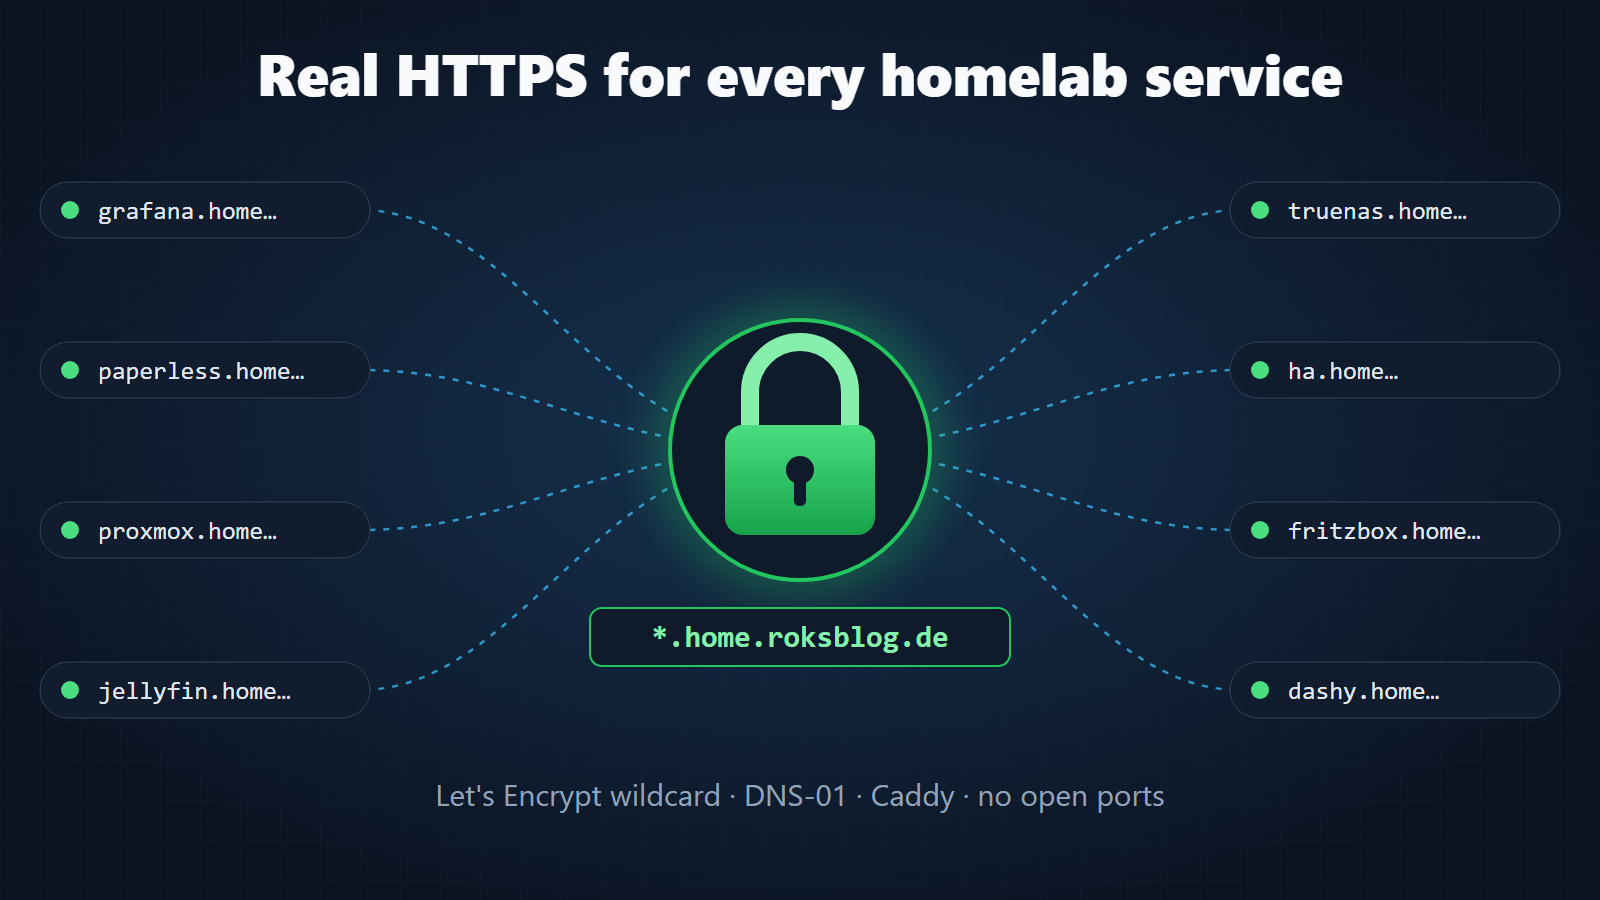
Every homelab ends up in the same place sooner or later: a dashboard full of bookmarks like http://192.168.2.2:30070, http://192.168.2.78:5001 and https://192.168.2.11:8006 – and every single one of them either has no TLS at all or greets you with a big fat "Your connection is not private" warning. You click "Accept the risk" so often that you stop reading it. Not great.
I finally fixed that in my lab, and honestly I'm a bit annoyed I didn't do it years ago. Today every service is reachable as https://<name>.home.roksblog.de with a real, browser-trusted Let's Encrypt certificate – and none of these services is exposed to the internet. No port forwarding, no tunnel, nothing. The whole thing took an afternoon, and the only thing it costs is a domain, which is a few euros a year.
What finally pushed me to do it was the article HTTPS im Heimnetz: So sichern Sie lokale Dienste ab by Niklas Dierking on heise online (German). Thanks for the nudge!
Here's how it works.
The idea in one picture
Browser ──► fritzbox / DNS: *.home.roksblog.de → 192.168.2.47
              │
              ▼
        Caddy (192.168.2.47:443)  ── wildcard cert *.home.roksblog.de
              │                      (Let's Encrypt, DNS-01 via INWX API)
              ├─► grafana.home.roksblog.de   → localhost:3000
              ├─► paperless.home.roksblog.de → 192.168.2.2:30070
              ├─► proxmox.home.roksblog.de   → 192.168.2.11:8006
              └─► ... 30+ more
Three ingredients:
- A domain at a registrar/DNS provider with an API (I use INWX, but Cloudflare, Hetzner, deSEC, Porkbun, OVH, … all work).
- A wildcard DNS record
*.home.roksblog.dethat points to the private IP of the reverse proxy. - Caddy as reverse proxy, which gets a wildcard certificate via the DNS-01 challenge and renews it automatically.
Why DNS-01 is the key
The "normal" Let's Encrypt challenge (HTTP-01) needs Let's Encrypt to reach your server on port 80 from the internet. That's exactly what we don't want for internal stuff.
With DNS-01, Let's Encrypt doesn't talk to your server at all. Instead Caddy proves that it controls the domain by creating a TXT record _acme-challenge.home.roksblog.de via the DNS provider's API. Let's Encrypt looks up that record, is happy, and issues the certificate. Your proxy only needs outbound internet access.
Bonus: DNS-01 is the only challenge that can issue wildcard certificates. One cert for *.home.roksblog.de covers every service I'll ever add – no new cert per service, no rate limit worries.
Step 1: The domain and the DNS record
I already had roksblog.de at INWX (that's where this blog lives). For the lab I just use the subdomain home.roksblog.de. In the INWX DNS console I created a single record:
*.home.roksblog.de. A 192.168.2.47Yes, that's a public DNS record pointing to a private RFC1918 address. That's fine – from the internet it leads nowhere, and inside my LAN it resolves to my reverse proxy. Nobody outside can use it for anything.
You could also do this with split DNS (Pi-hole, AdGuard, Unbound local records) instead of a public record. I went with the public record because it's one line, works for every client including phones on Wi-Fi, and I don't need to maintain local DNS overrides.
The FRITZ!Box gotcha: DNS rebind protection
If your router is a FRITZ!Box (or you use Pi-hole/dnsmasq with stop-dns-rebind), the first test will fail: the name simply does not resolve. That's DNS rebind protection – the router drops public DNS answers that point to private IPs, because that's a classic attack pattern.
The fix is to whitelist your domain. On the FRITZ!Box: Heimnetz → Netzwerk → Netzwerkeinstellungen → DNS-Rebind-Schutz and add home.roksblog.de. After that, nslookup grafana.home.roksblog.de returns 192.168.2.47.
Step 2: An API key for the DNS provider
Caddy needs credentials to create the TXT record. With INWX that's your account username and password, plus the shared secret if you use 2FA (which you should). Ideally create a dedicated sub-account that's only allowed to manage DNS. For Cloudflare it would be a scoped API token with Zone → DNS → Edit.
Put the credentials in a .env file next to the compose file – not in the Caddyfile:
INWX_USERNAME=...
INWX_PASSWORD=...
INWX_SHARED_SECRET=...
Step 3: Caddy with the DNS plugin
The stock caddy image doesn't contain any DNS provider modules. The usual way is to build your own binary with xcaddy. My Docker host is a jail on a TrueNAS box with only 16 GB RAM, and compiling Go there isn't fun. Luckily there's a much simpler option: caddyserver.com builds custom binaries for you. So my Dockerfile is just two lines:
FROM caddy:2
# prebuilt Caddy with the INWX DNS module from the official download service
ADD --chmod=755 "https://caddyserver.com/api/download?os=linux&arch=amd64&p=github.com/caddy-dns/inwx" /usr/bin/caddy
Replace caddy-dns/inwx with the module for your provider (caddy-dns/cloudflare, caddy-dns/hetzner, …). The full list is on github.com/caddy-dns.
The compose file:
services:
  caddy:
    build: .
    image: caddy-inwx:local
    container_name: caddy
    # host network: binds 80/443 directly and reaches local services via localhost
    network_mode: host
    env_file: .env
    environment:
      TZ: Europe/Berlin
    volumes:
      - ./Caddyfile:/etc/caddy/Caddyfile:ro
      - caddy-data:/data
      - caddy-config:/config
    mem_limit: 128m
    restart: unless-stopped

volumes:
  caddy-data:
  caddy-config:
Don't forget the caddy-data volume – that's where the certificate and the ACME account live. Without it Caddy requests a fresh cert on every restart and you'll hit Let's Encrypt's rate limits quickly.
Step 4: The Caddyfile
This is where it gets nice. One site block for the wildcard, and a small snippet so that adding a service is a single line:
# one line "import svc <name> <host:port>" per service
# -> https://<name>.home.roksblog.de
(svc) {
	@{args[0]} host {args[0]}.home.roksblog.de
	handle @{args[0]} {
		reverse_proxy {args[1]}
	}
}

*.home.roksblog.de {
	tls {
		dns inwx {
			username {env.INWX_USERNAME}
			password {env.INWX_PASSWORD}
			shared_secret {env.INWX_SHARED_SECRET}
		}
		# INWX secondaries sync with a delay – see below
		propagation_delay 2m
		propagation_timeout 10m
	}

	import svc grafana    localhost:3000
	import svc prometheus localhost:9090
	import svc truenas    192.168.2.2:808
	import svc paperless  192.168.2.2:30070
	import svc jellyfin   192.168.2.2:30013
	import svc dashy      192.168.2.2:31003
	import svc mikrotik   192.168.2.22:80
	# ... and so on

	handle {
		respond "Unknown service" 404
	}
}
docker compose up -d --build, wait a couple of minutes, and watch the logs with docker logs -f caddy. You should see something like certificate obtained successfully for *.home.roksblog.de. Open https://grafana.home.roksblog.de – green padlock. 🎉
Adding a new service from now on: add one import svc line, then
docker exec caddy caddy reload --config /etc/caddy/CaddyfileNo new DNS record, no new certificate, done in ten seconds.
Things that bit me
1. "No TXT record found" – propagation delay
My first attempts failed with Let's Encrypt complaining that it couldn't find the TXT record, although Caddy had clearly created it. The reason: Let's Encrypt validates from multiple vantage points and queries all authoritative nameservers. INWX's secondary nameservers (ns2/ns3) take a while to pick up changes. Caddy checks the primary, sees the record, tells Let's Encrypt "go", and Let's Encrypt then asks a secondary that doesn't have it yet.
The fix is propagation_delay 2m in the tls block: Caddy simply waits two minutes before triggering validation. Since this only happens every ~60 days on renewal, nobody cares about two minutes.
2. Some devices check the Host header
Most services don't care which hostname they're called with. Some do:
- FRITZ!Box has its own rebind protection on the web UI and rejects foreign
Hostheaders. Fix:header_up Host fritz.box. - CUPS also rejects unknown hostnames. Fix:
header_up Host {upstream_hostport}. - Proxmox VE only speaks HTTPS with a self-signed cert. Caddy needs to be told to accept that on the backend side.
@fritzbox host fritzbox.home.roksblog.de
handle @fritzbox {
	reverse_proxy 192.168.2.1:80 {
		header_up Host fritz.box
	}
}

@proxmox host proxmox.home.roksblog.de
handle @proxmox {
	reverse_proxy 192.168.2.11:8006 {
		transport http {
			tls_insecure_skip_verify
		}
	}
}(tls_insecure_skip_verify sounds scary, but it only affects the hop from Caddy to Proxmox inside the LAN. The browser still sees the valid Let's Encrypt cert. noVNC and the xterm.js console work fine through Caddy, websockets are passed through automatically.)
3. Apps that want to know they're behind a proxy
- Pi-hole serves its UI under
/admin/– aredir / /admin/makes the bare hostname work. - Paperless-ngx rejects logins with a CSRF error until you add the new URL:
PAPERLESS_CSRF_TRUSTED_ORIGINS=https://paperless.home.roksblog.de. - Home Assistant refuses proxied requests unless the proxy is listed in
trusted_proxies(anduse_x_forwarded_for: true). With Caddy on the same host that's127.0.0.1and::1.
4. Single-file bind mounts and sed -i
I mount only the Caddyfile, not a directory. If you edit it with sed -i (or some editors), the tool writes a new file and renames it over the old one – new inode. The container still sees the old file, and caddy reload happily reloads the old config. Either edit in place, mount the whole directory, or just docker restart caddy.
What about privacy?
Every certificate Let's Encrypt issues ends up in the public Certificate Transparency logs (search on crt.sh). With per-service certificates, everybody could see paperless.home…, vaultwarden.home… and so on. With a wildcard, the only thing that shows up is *.home.roksblog.de. The public DNS record doesn't reveal service names either – it's a wildcard pointing to a private IP. That's one more reason to go wildcard.
And to be very clear: nothing here is reachable from the internet. The DNS record points to a LAN address, there's no port forwarding. If you want remote access, put it behind Pangolin.
The result
- ~30 services, all on
https://<name>.home.roksblog.de, all with valid certs. - One wildcard certificate, renewed automatically by Caddy, I never have to touch it.
- Adding a service = one line + reload.
- My Dashy dashboard finally has readable links instead of IP:port soup.
- No more "Accept the risk and continue" – and password managers now actually recognise the login pages, since every service has its own hostname.
Total cost: the domain, which you might already have anyway. If not, a .de domain is a few euros per year – the cheapest homelab upgrade I've done in a long time.
If you have a domain lying around: do it. It really is an afternoon project. 🙂