TrueNas - Upgrading my Hardkernel Odroid H2 with 4 NVMe Drives - Making the actually impossible possible

How I Discovered This Upgrade
While I was looking for new NAS options, I ended up browsing Hardkernel’s product website. I saw that the new H4 Plus now offers more SATA ports, and since its compact size is perfect for me, it seemed like the best option. As I read through the product page, I scrolled all the way down and noticed their upgrade offerings. That’s when the M.2 4×1 card caught my eye.
The Odroid H4 originally comes with just one M.2 slot. By plugging in this card and flashing a different BIOS, the port can be bifurcated—split into four x1 lanes—allowing installation of four NVMe drives. “How cool is that?” I thought. Then another idea struck me: all I really needed was the ability to install more disks in my current Odroid H2. What if this card worked on my system too? Wouldn't that be awesome?
I checked the product page: Hardkernel M.2 4×1 Card.
Unfortunately, it stated:
Note: This product is not compatible with the ODROID-H2, H3 series.
Oh nooooo. ? But wait… I noticed that Hardkernel offers a 4-port network card that is supported, and it also uses bifurcation. So, this must be possible, right? Scrolling further down, I found this compatibility table:
| Board Series | M.2 4×1 Card Compatibility |
|---|---|
| H2 Series | No / Maybe (2) |
| H3 Series | No / Maybe (2) |
| H4 Series | Yes |
Maybe?!? ?
The footnote explained:
(2) The M.2 4×1 card has a larger footprint and does not physically fit under the H2 or H3 boards. Therefore, the card cannot be fixed directly to the board like with the H4. HOWEVER, if you can find an M.2 male/female extension cable plus perform some additional DIY for mounting the card in your box or case, you can use the M.2 4×1 card with the H2 or H3.
Great! So, it technically works—I just needed to find an M.2 male/female extension cable and figure out where to mount the card inside the existing case or buy a new enclosure for the H2.
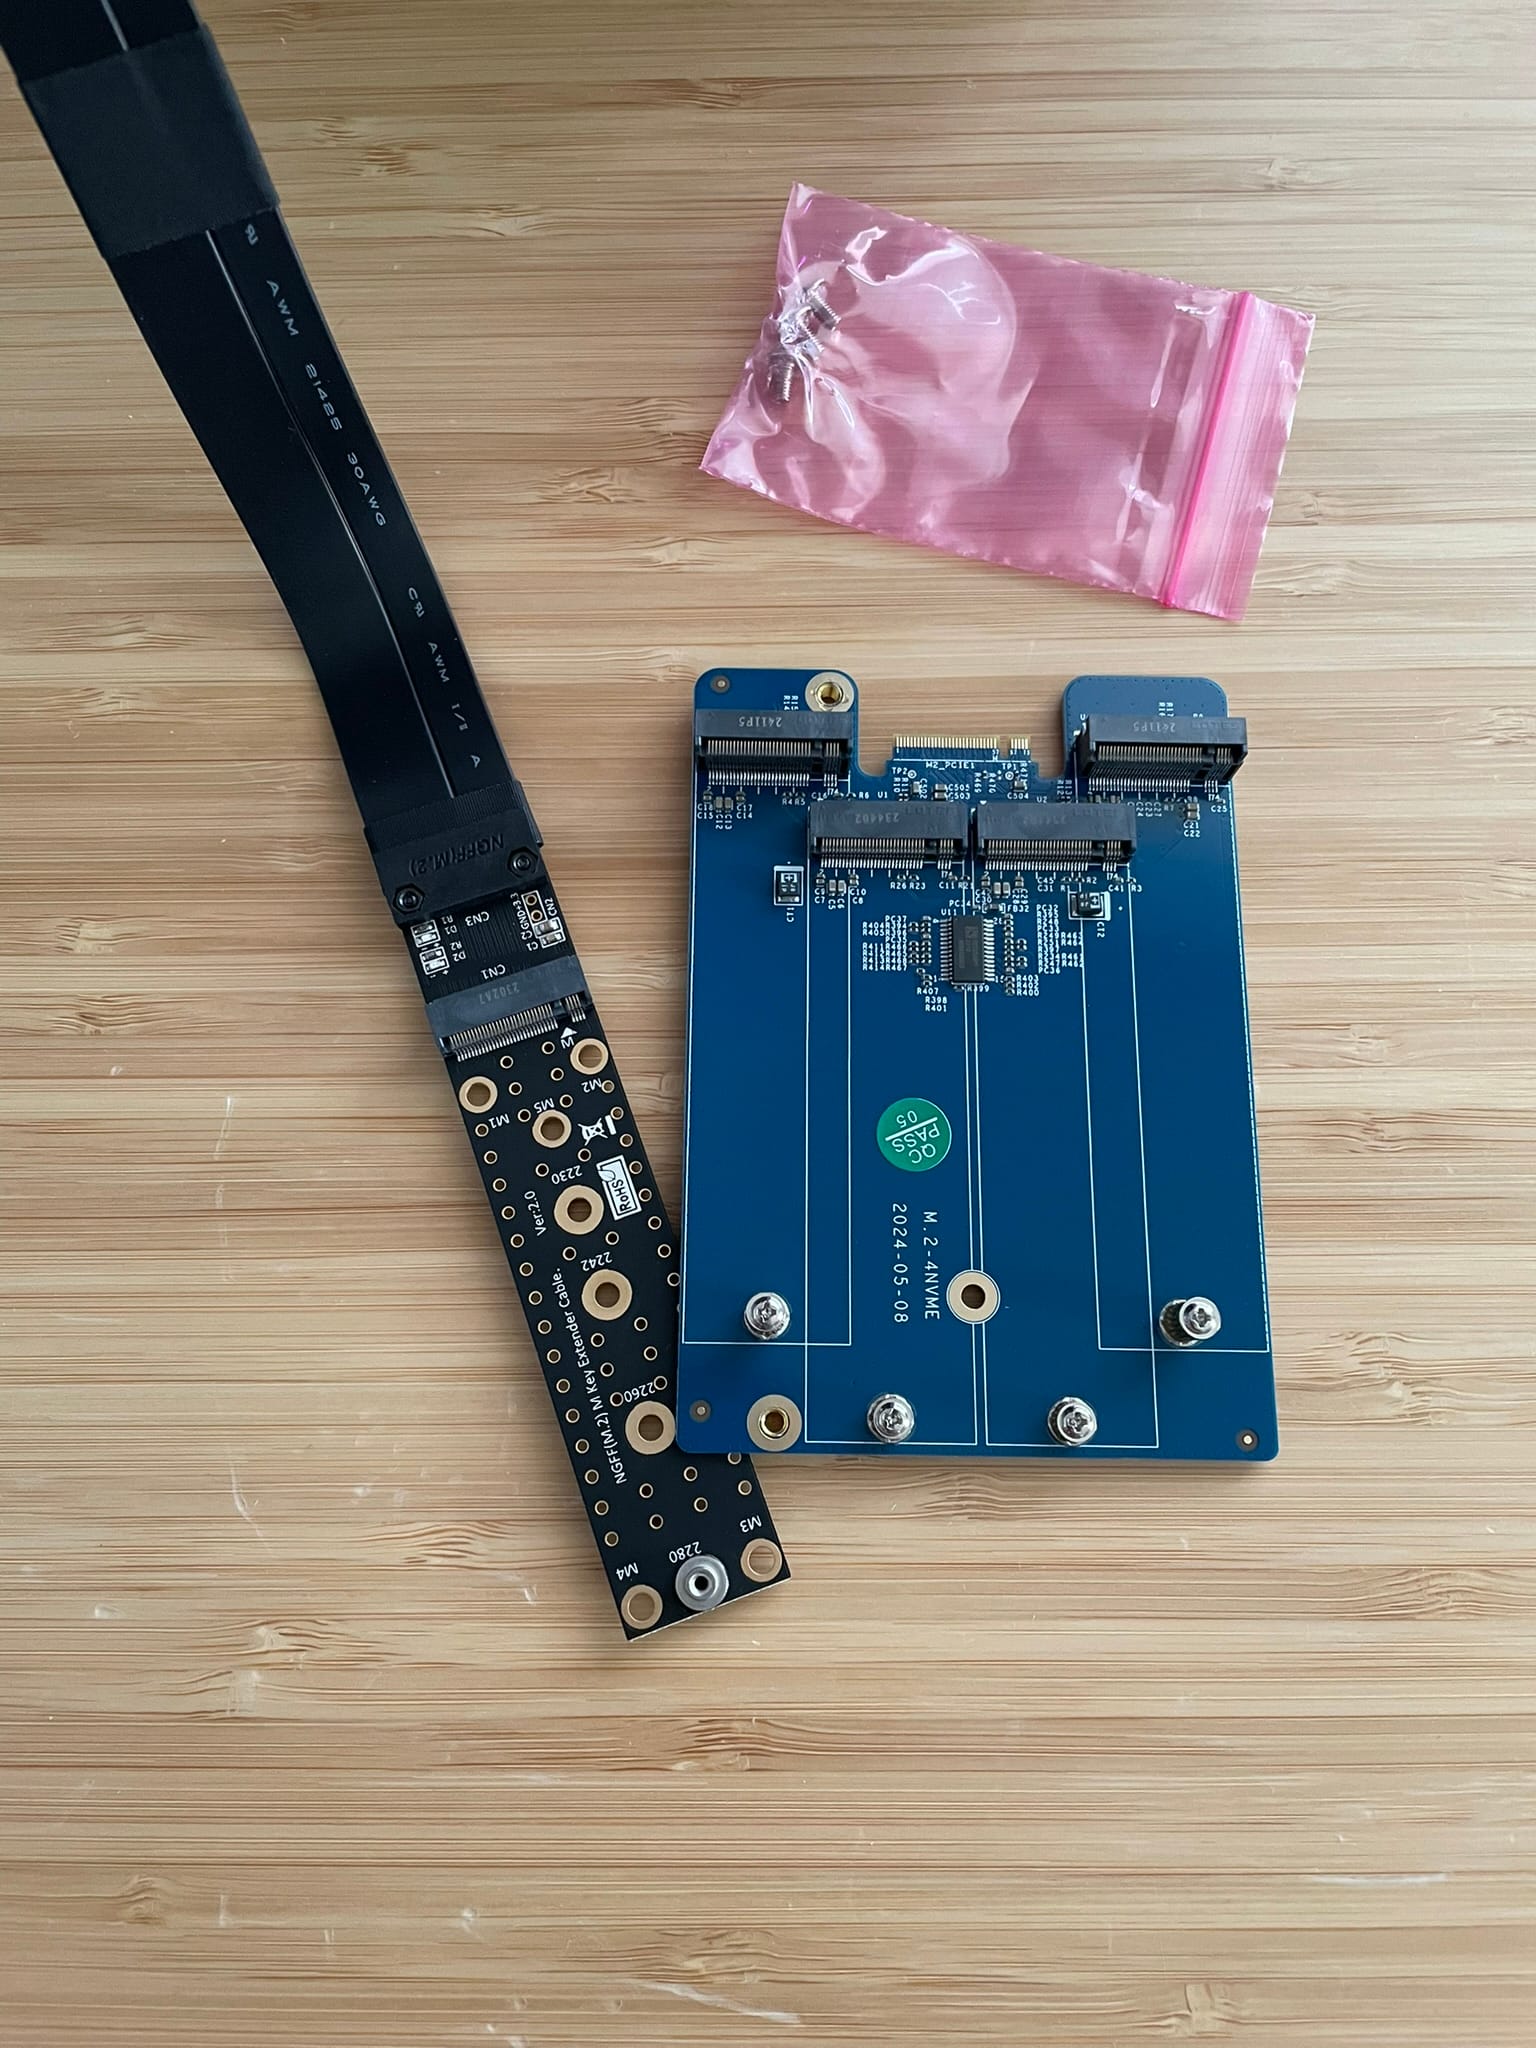
I found this cable. Incidentally, this is not an affiliate link. ?
Why Upgrade?
The Odroid H2 is a great little board, but it comes with some limitations. Out of the box, it has only two SATA ports and one M.2 slot, making storage expansion tricky. However, by upgrading to a 4x M.2 NVMe PCIe Gen 3 x1 adapter, I can now fit four NVMe drives into this compact system.
Of course, these drives will run at lower speeds since the 4x M.2 slot is bifurcated into four x1 lanes, but even then, the performance should still exceed 900MB/s. That’s far more than the two 1 Gbps NIC ports can deliver, making it a worthwhile upgrade for my use case.
Why Not Just Get a New System?
You might wonder why I didn’t invest in a brand-new system instead. The answer is simple—I needed an x86 device because I’m a big fan of TrueNAS. While newer Odroid boards like the H3 and H4 offer great improvements, only the H4 provides additional storage options with four SATA ports.
However, what I really love about the H2 is its compact size. Compared to full-sized NAS units, it’s incredibly small while still being powerful enough to run TrueNAS. This means I can comfortably run a couple of Kubernetes pods and containers, including Home Assistant and TeamSpeak, and even spin up a VM for testing—all while keeping power consumption below 15 watts, thanks to the efficiency of NVMe storage.
How to Install the NVMe Adapter
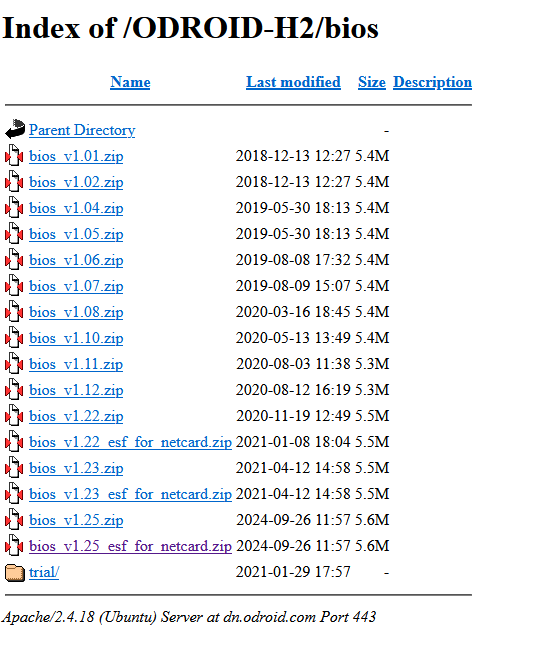
Install a new BIOS version – Yes, you can do that! The Odroid H2 is actually a real PC. Download the latest BIOS version from here: Odroid H2 BIOS. Make sure to grab the right one: bios_v1.25_esf_for_netcard.zip
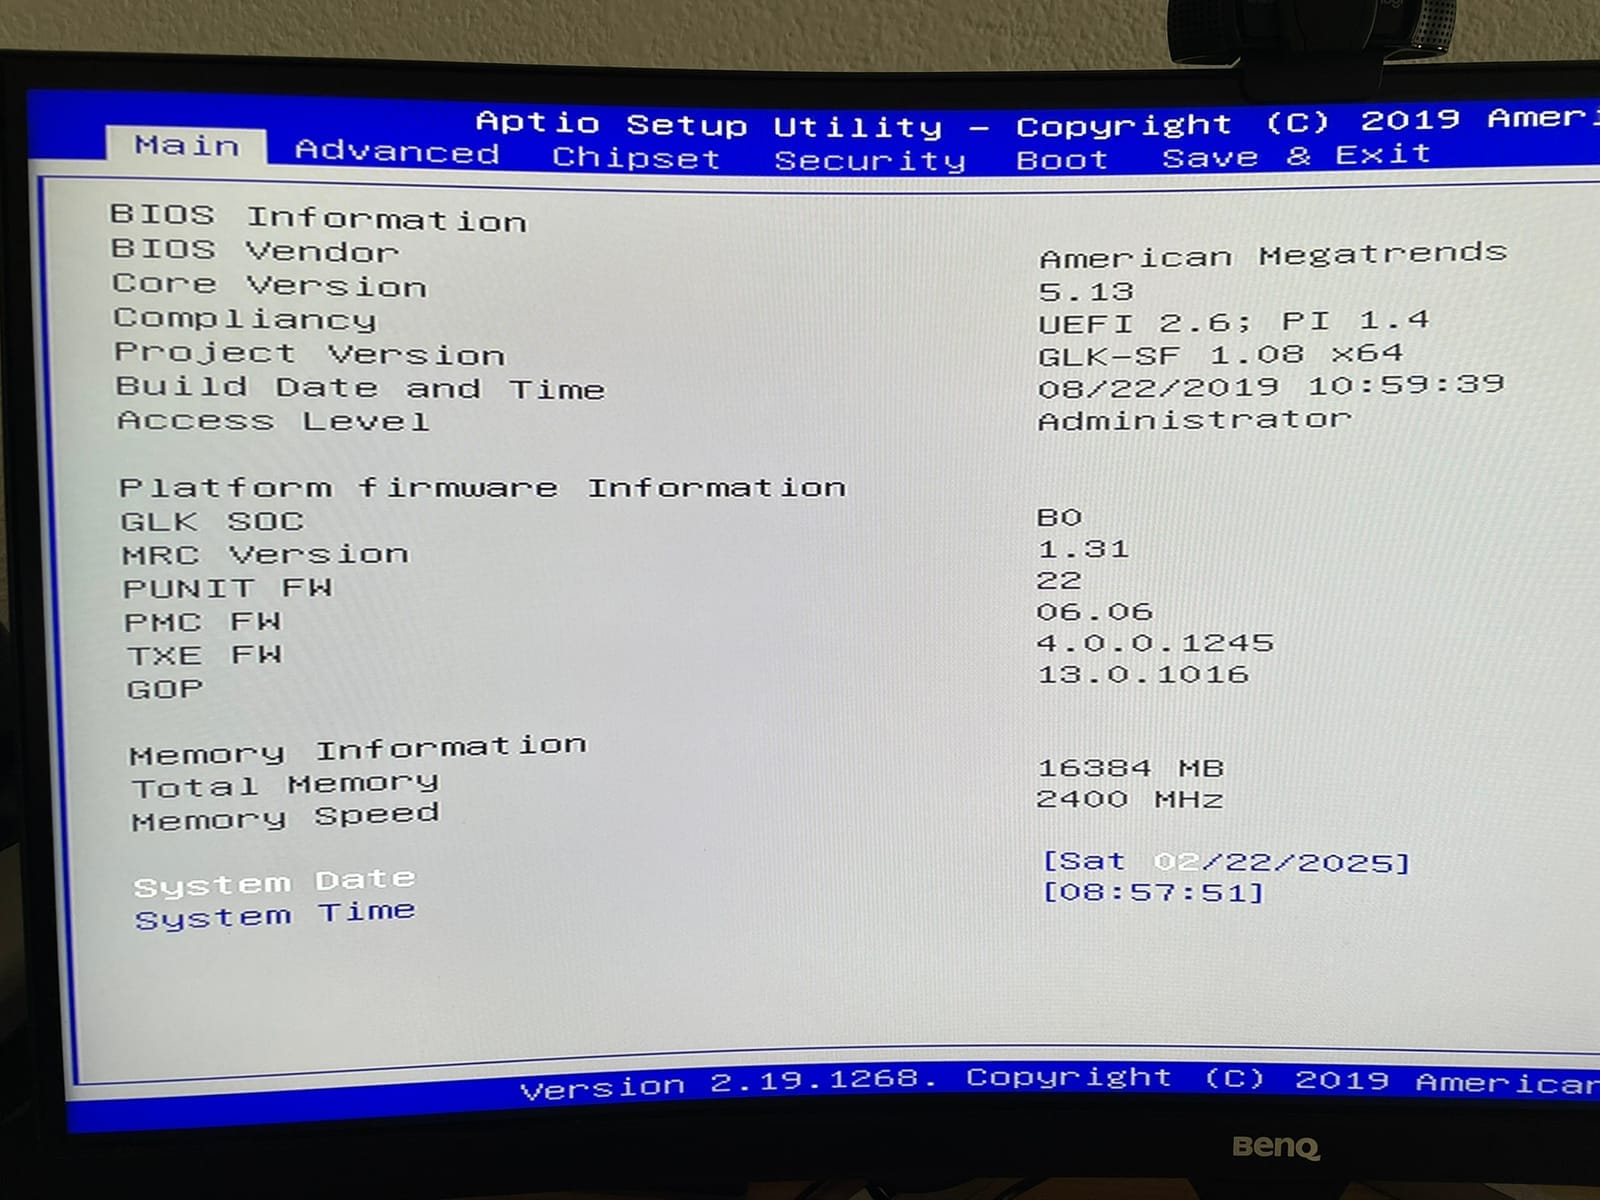
Update the BIOS – Plug in a monitor and a USB keyboard, reboot, and follow the instructions provided here: Odroid H2 BIOS Update Guide.
Before
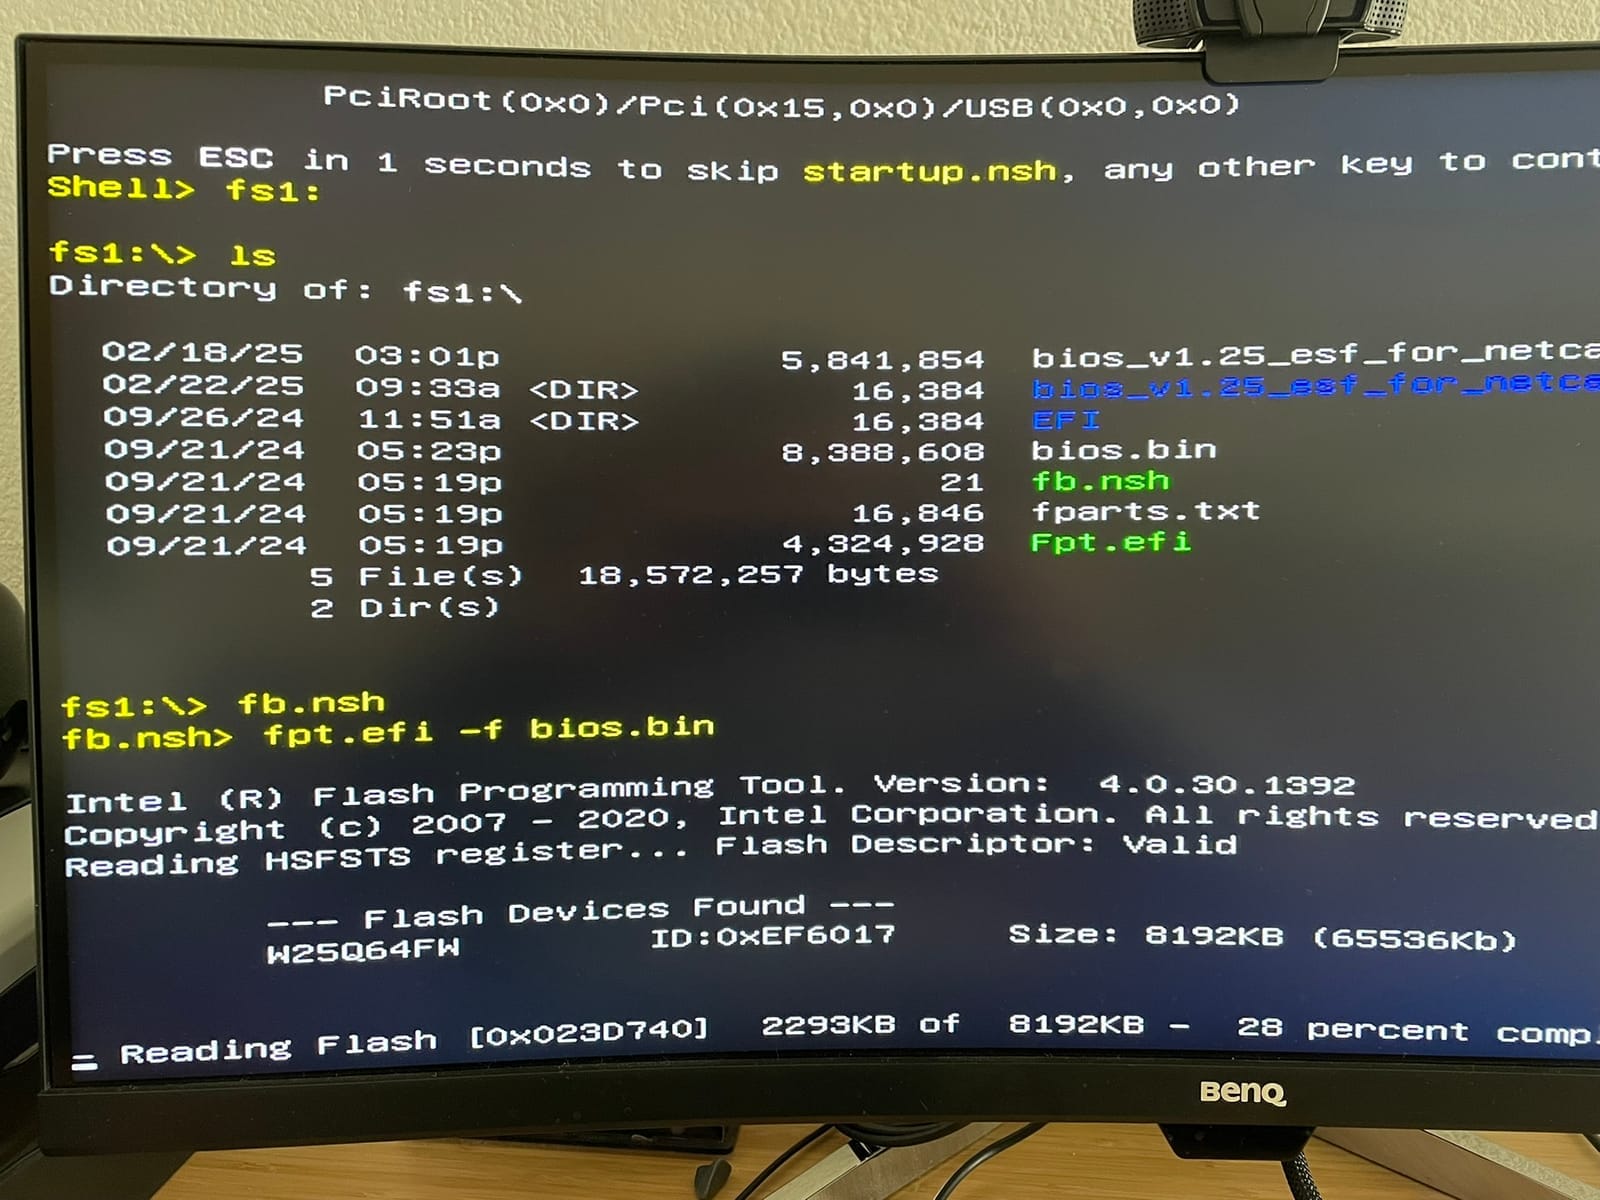
Flashing
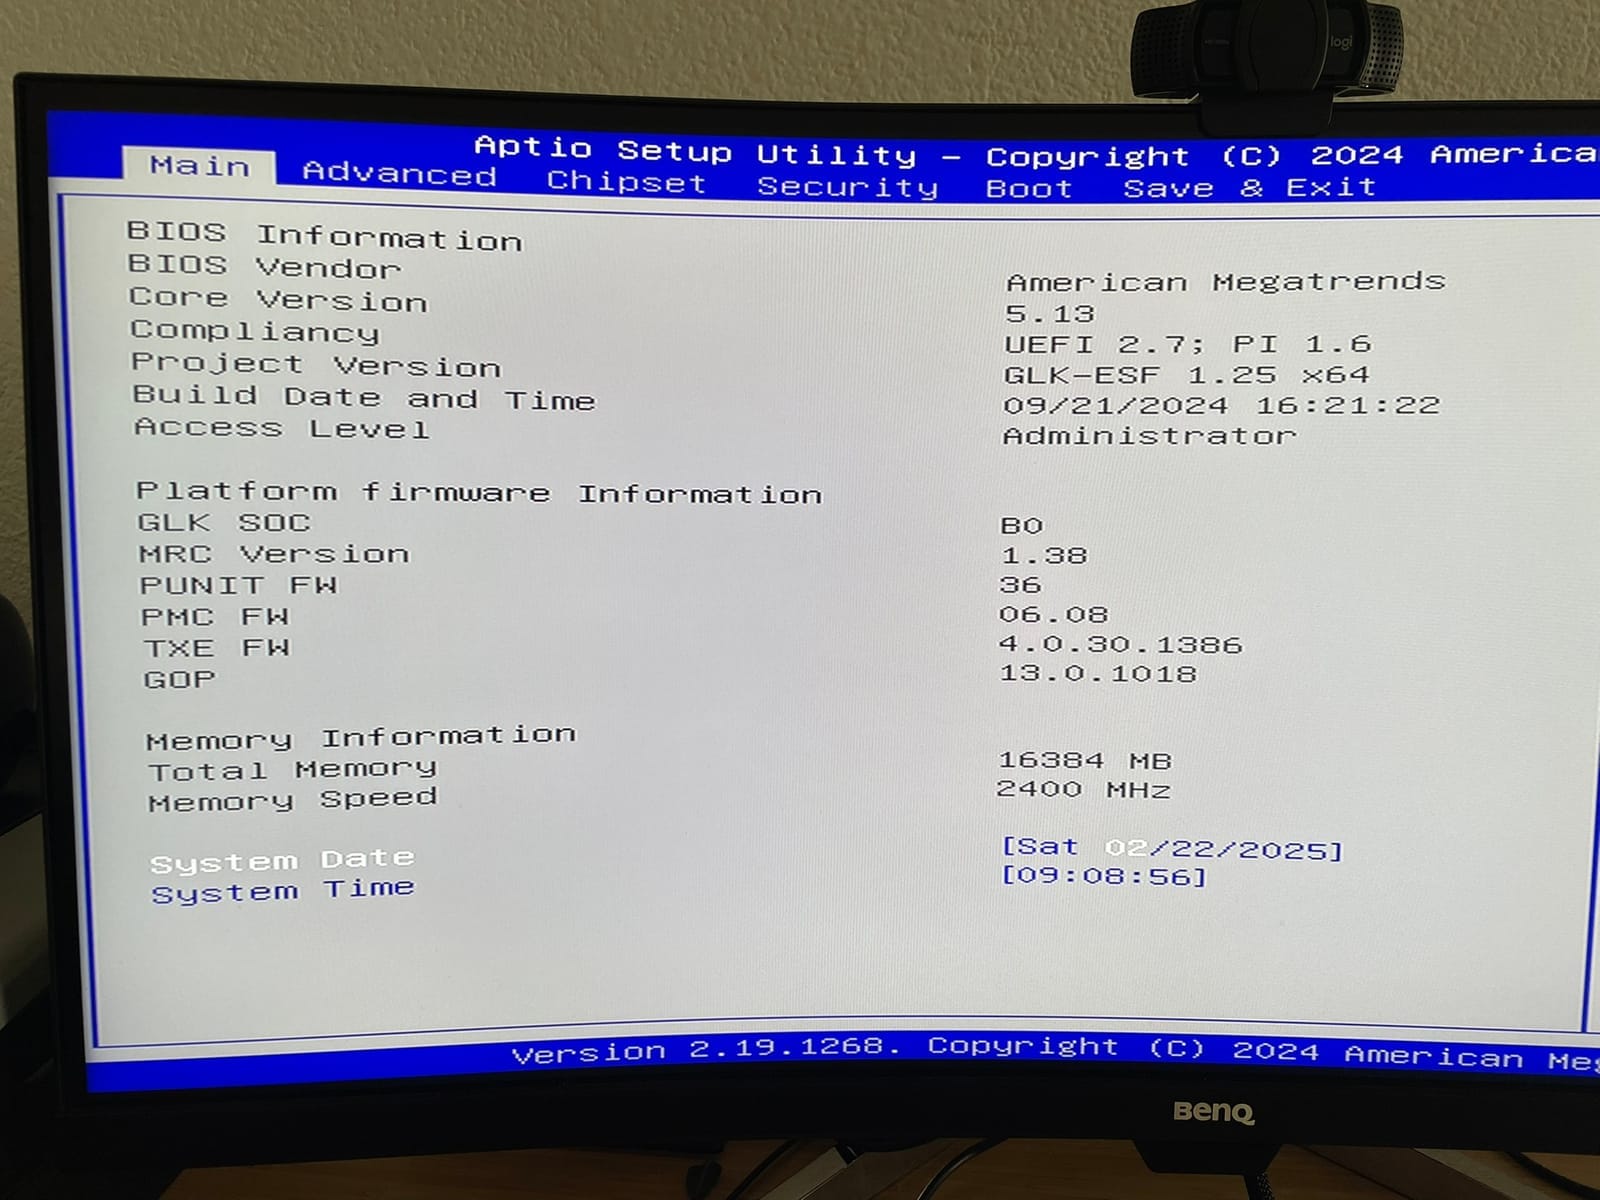
After
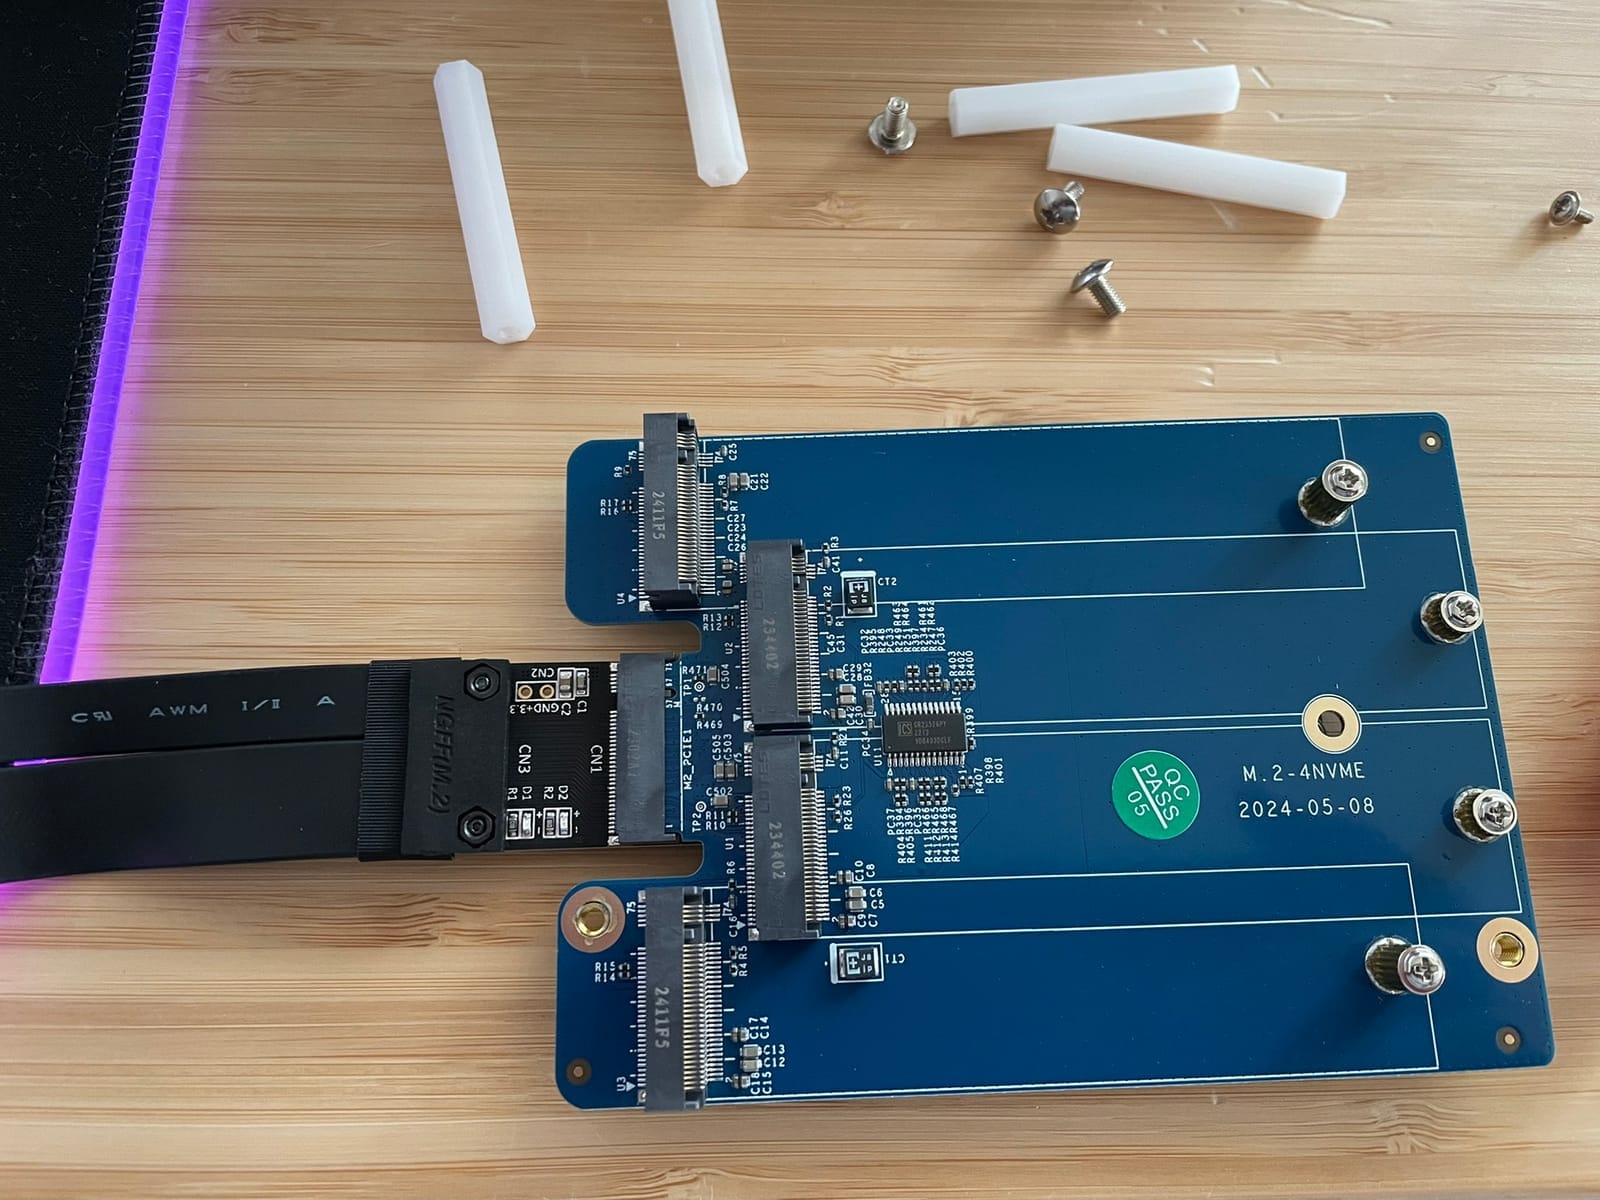
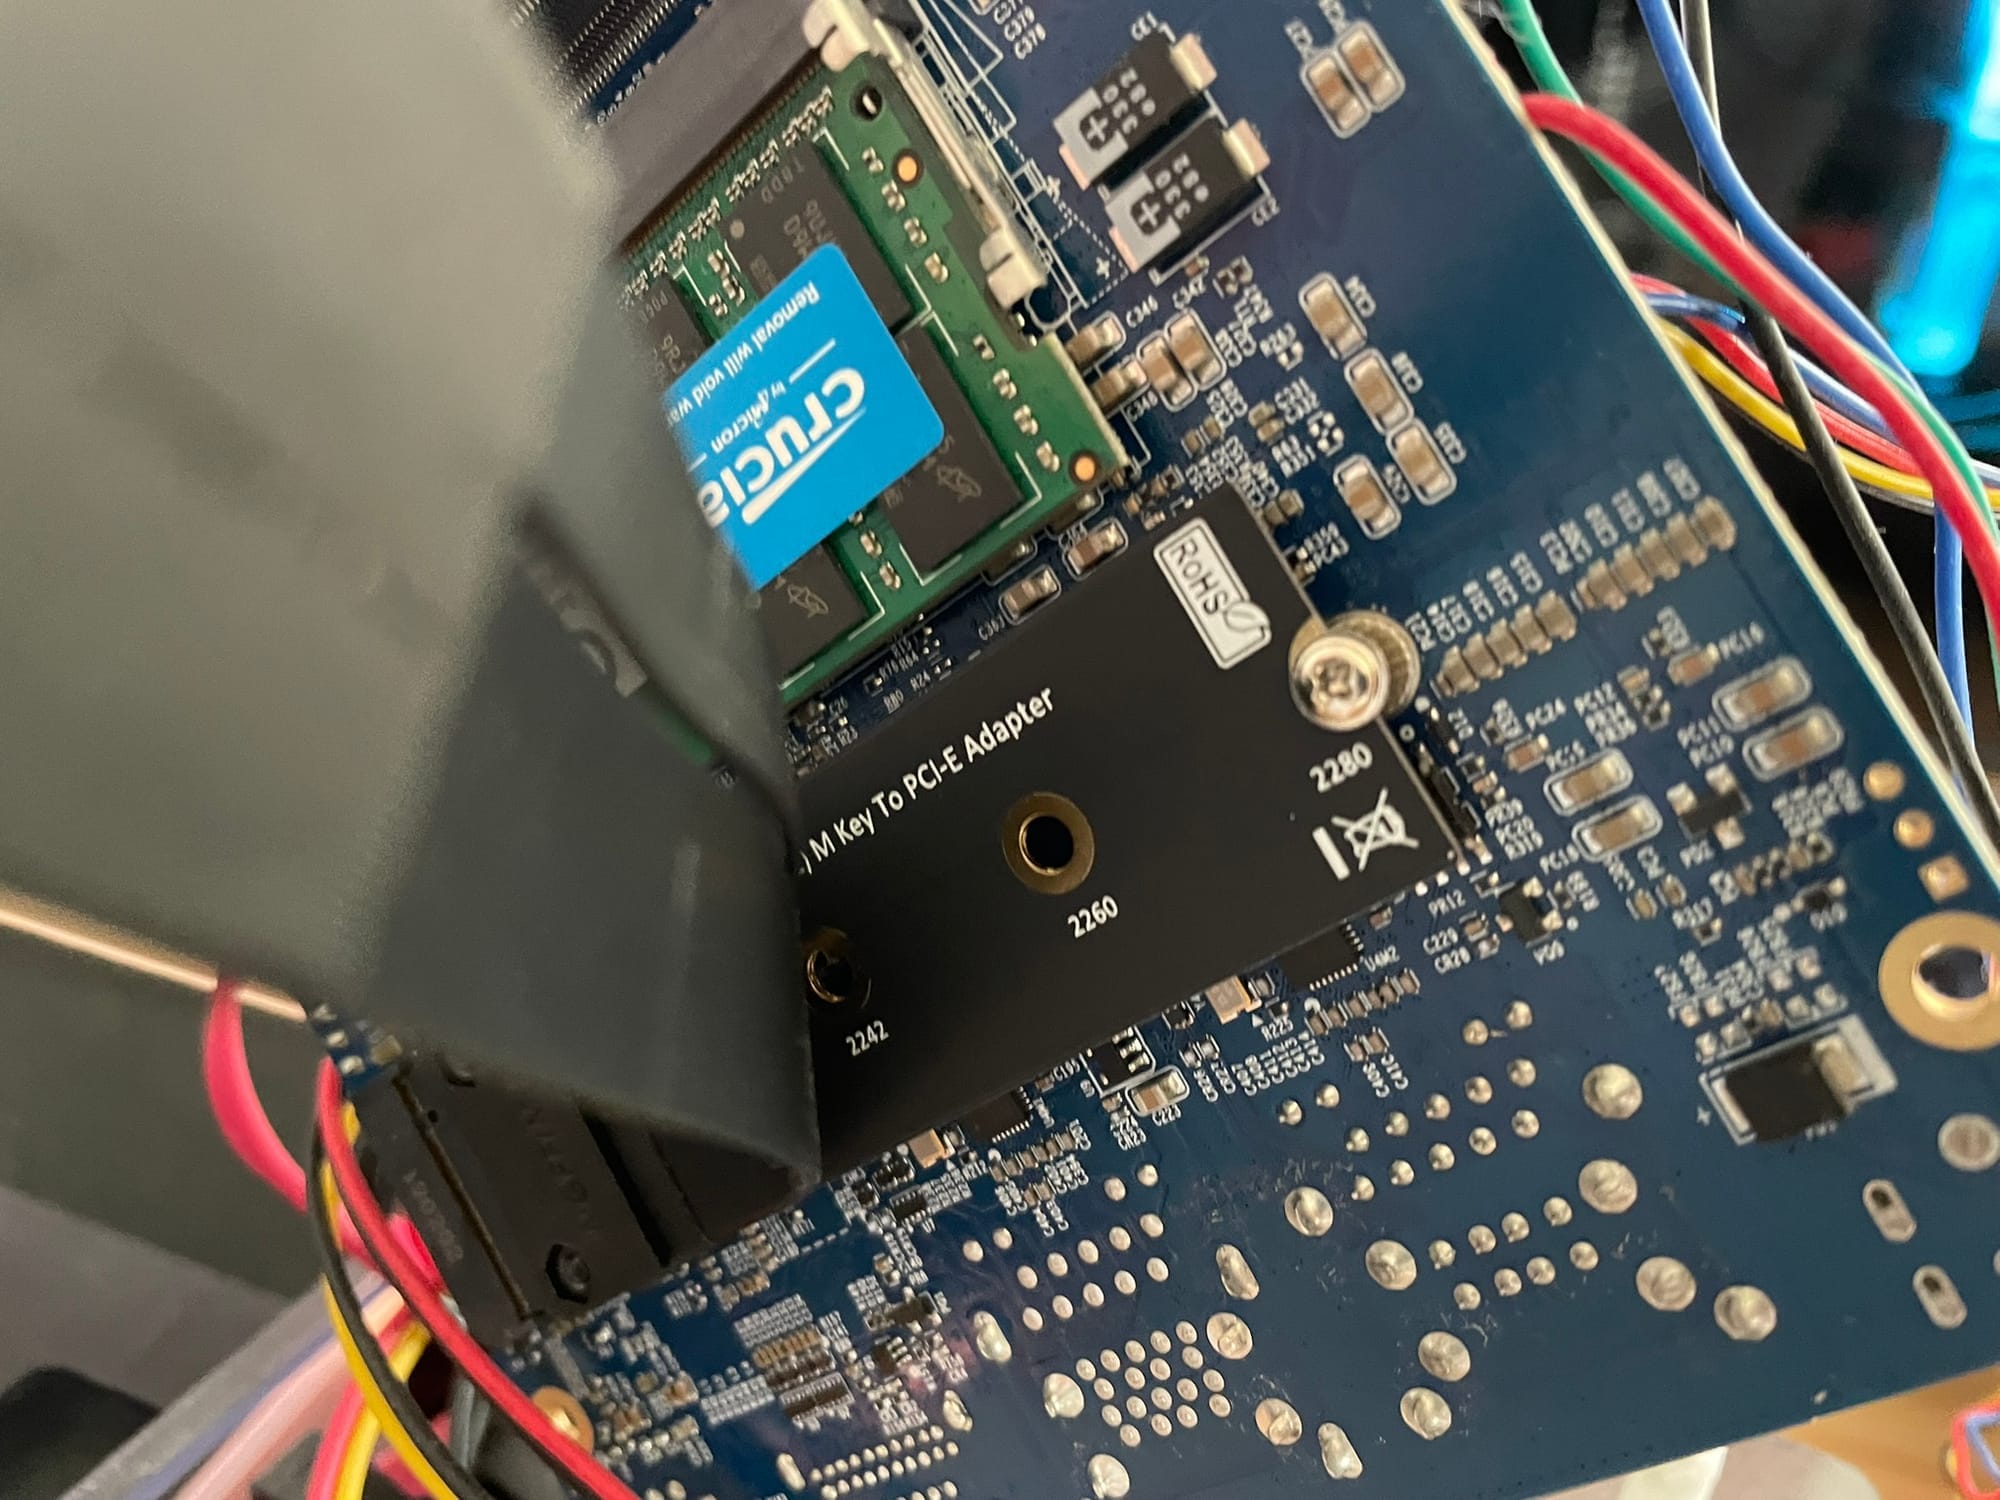
Install the NVMe adapter – Once you’ve upgraded the BIOS, power off the system and install the NVMe adapter card. The card comes with 3 screws that you can use to mount it to the H4 board. As stated earlier this won't work on the H2, this is why I bought the extension cable.
My tiny little dusty but awesome H2. Let's open it up...
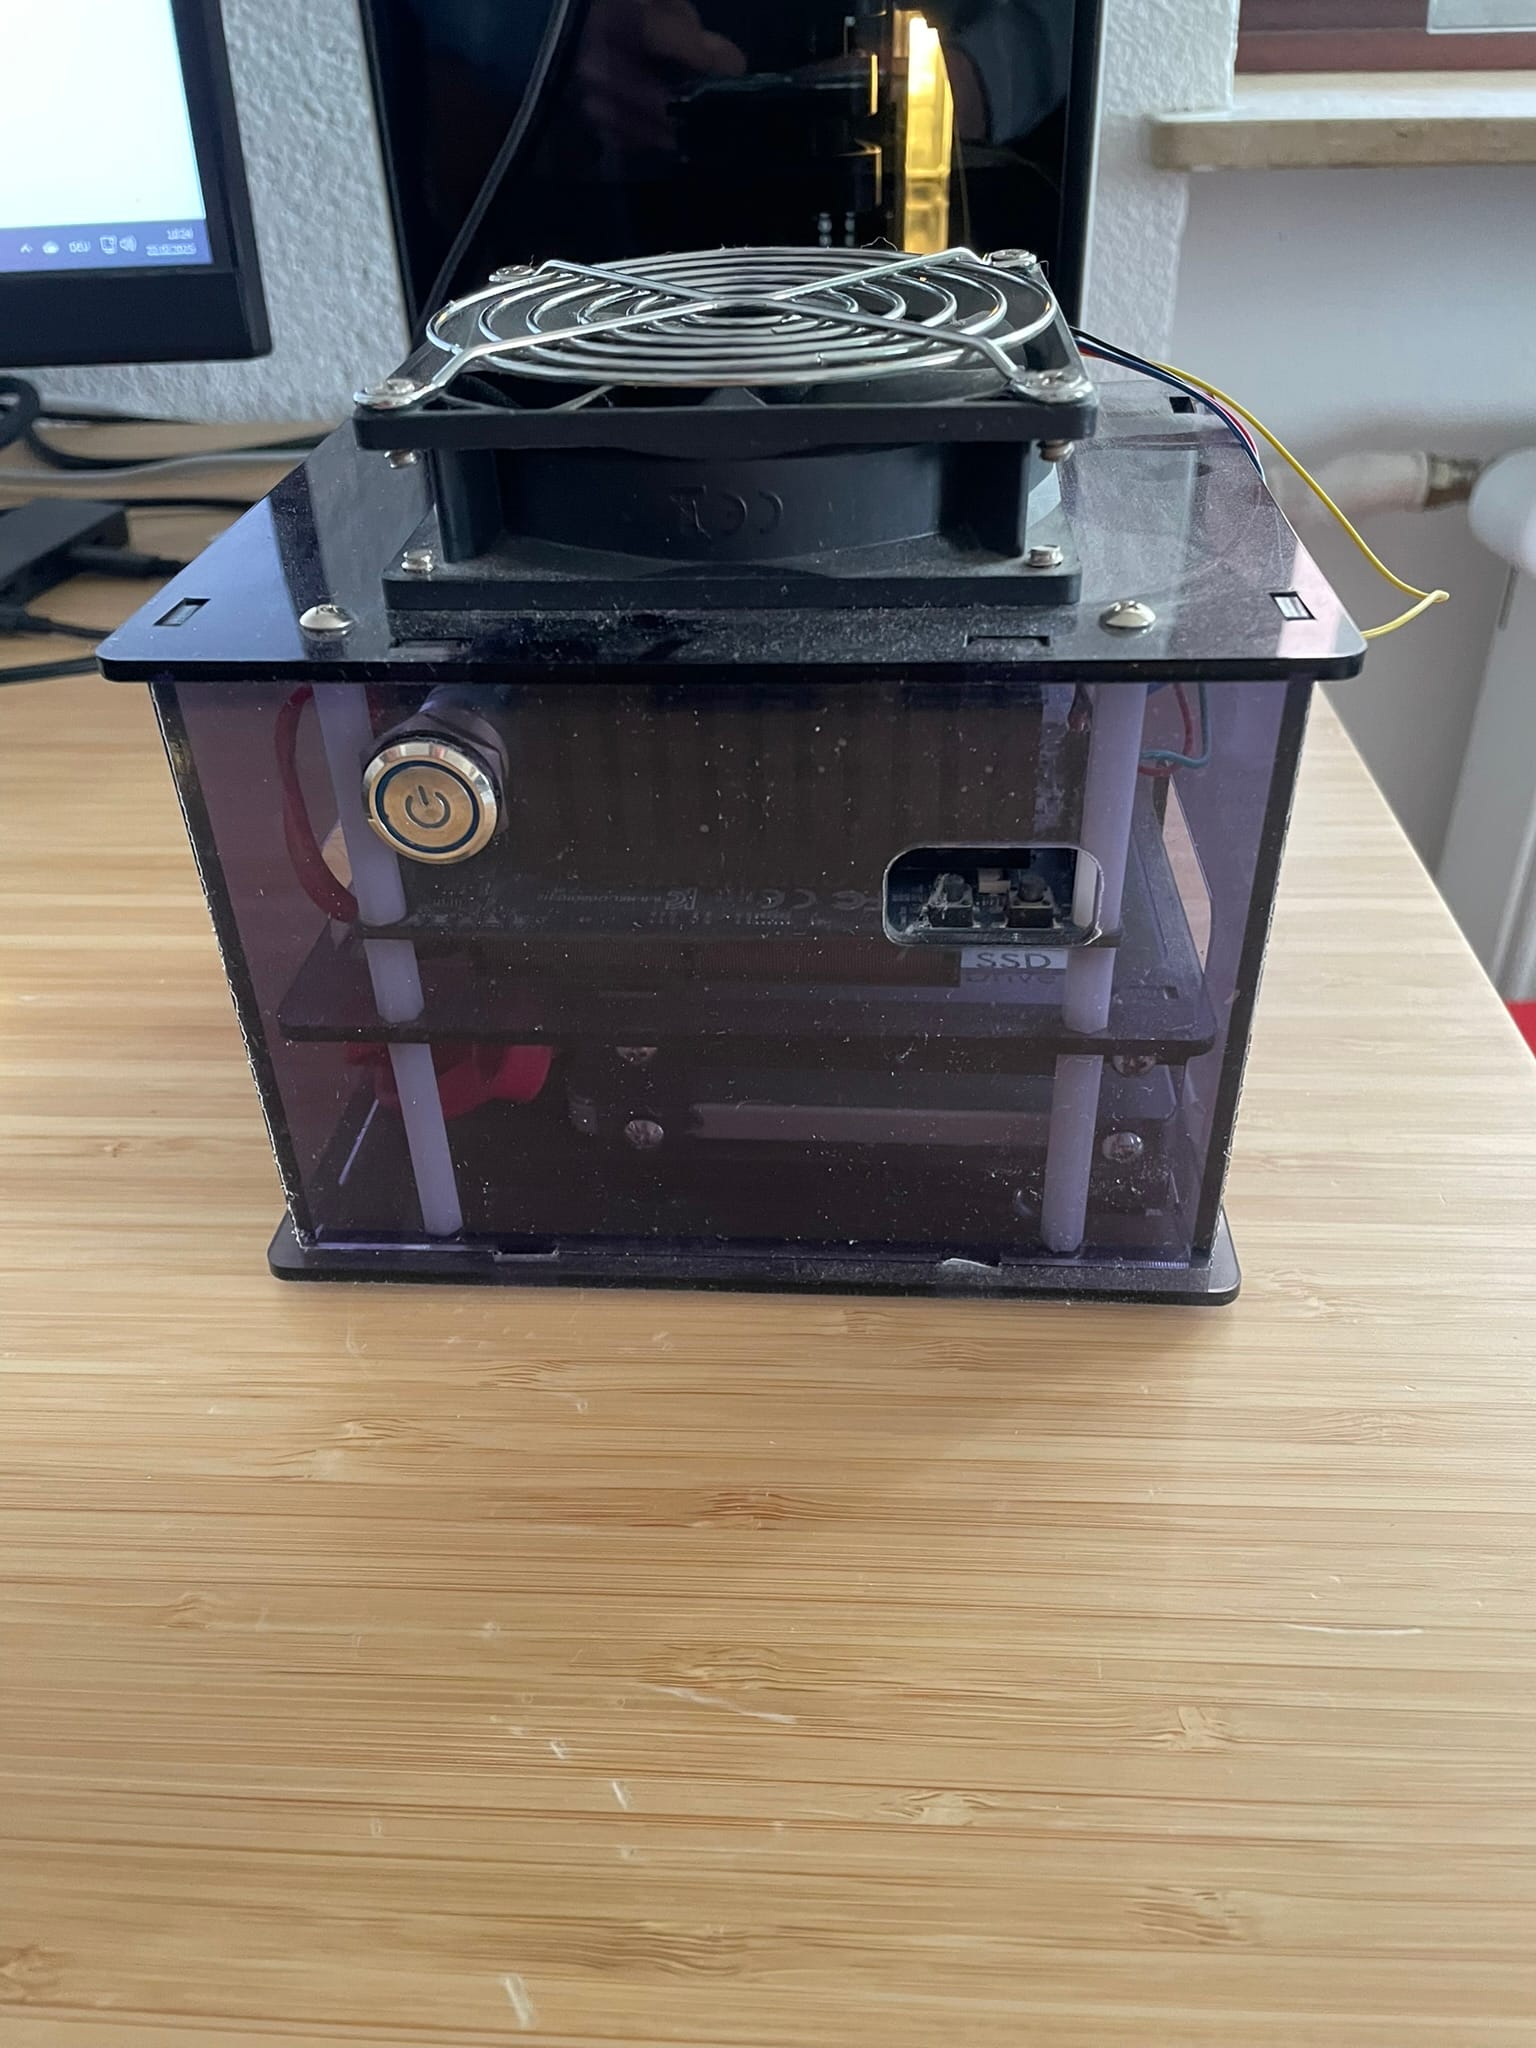
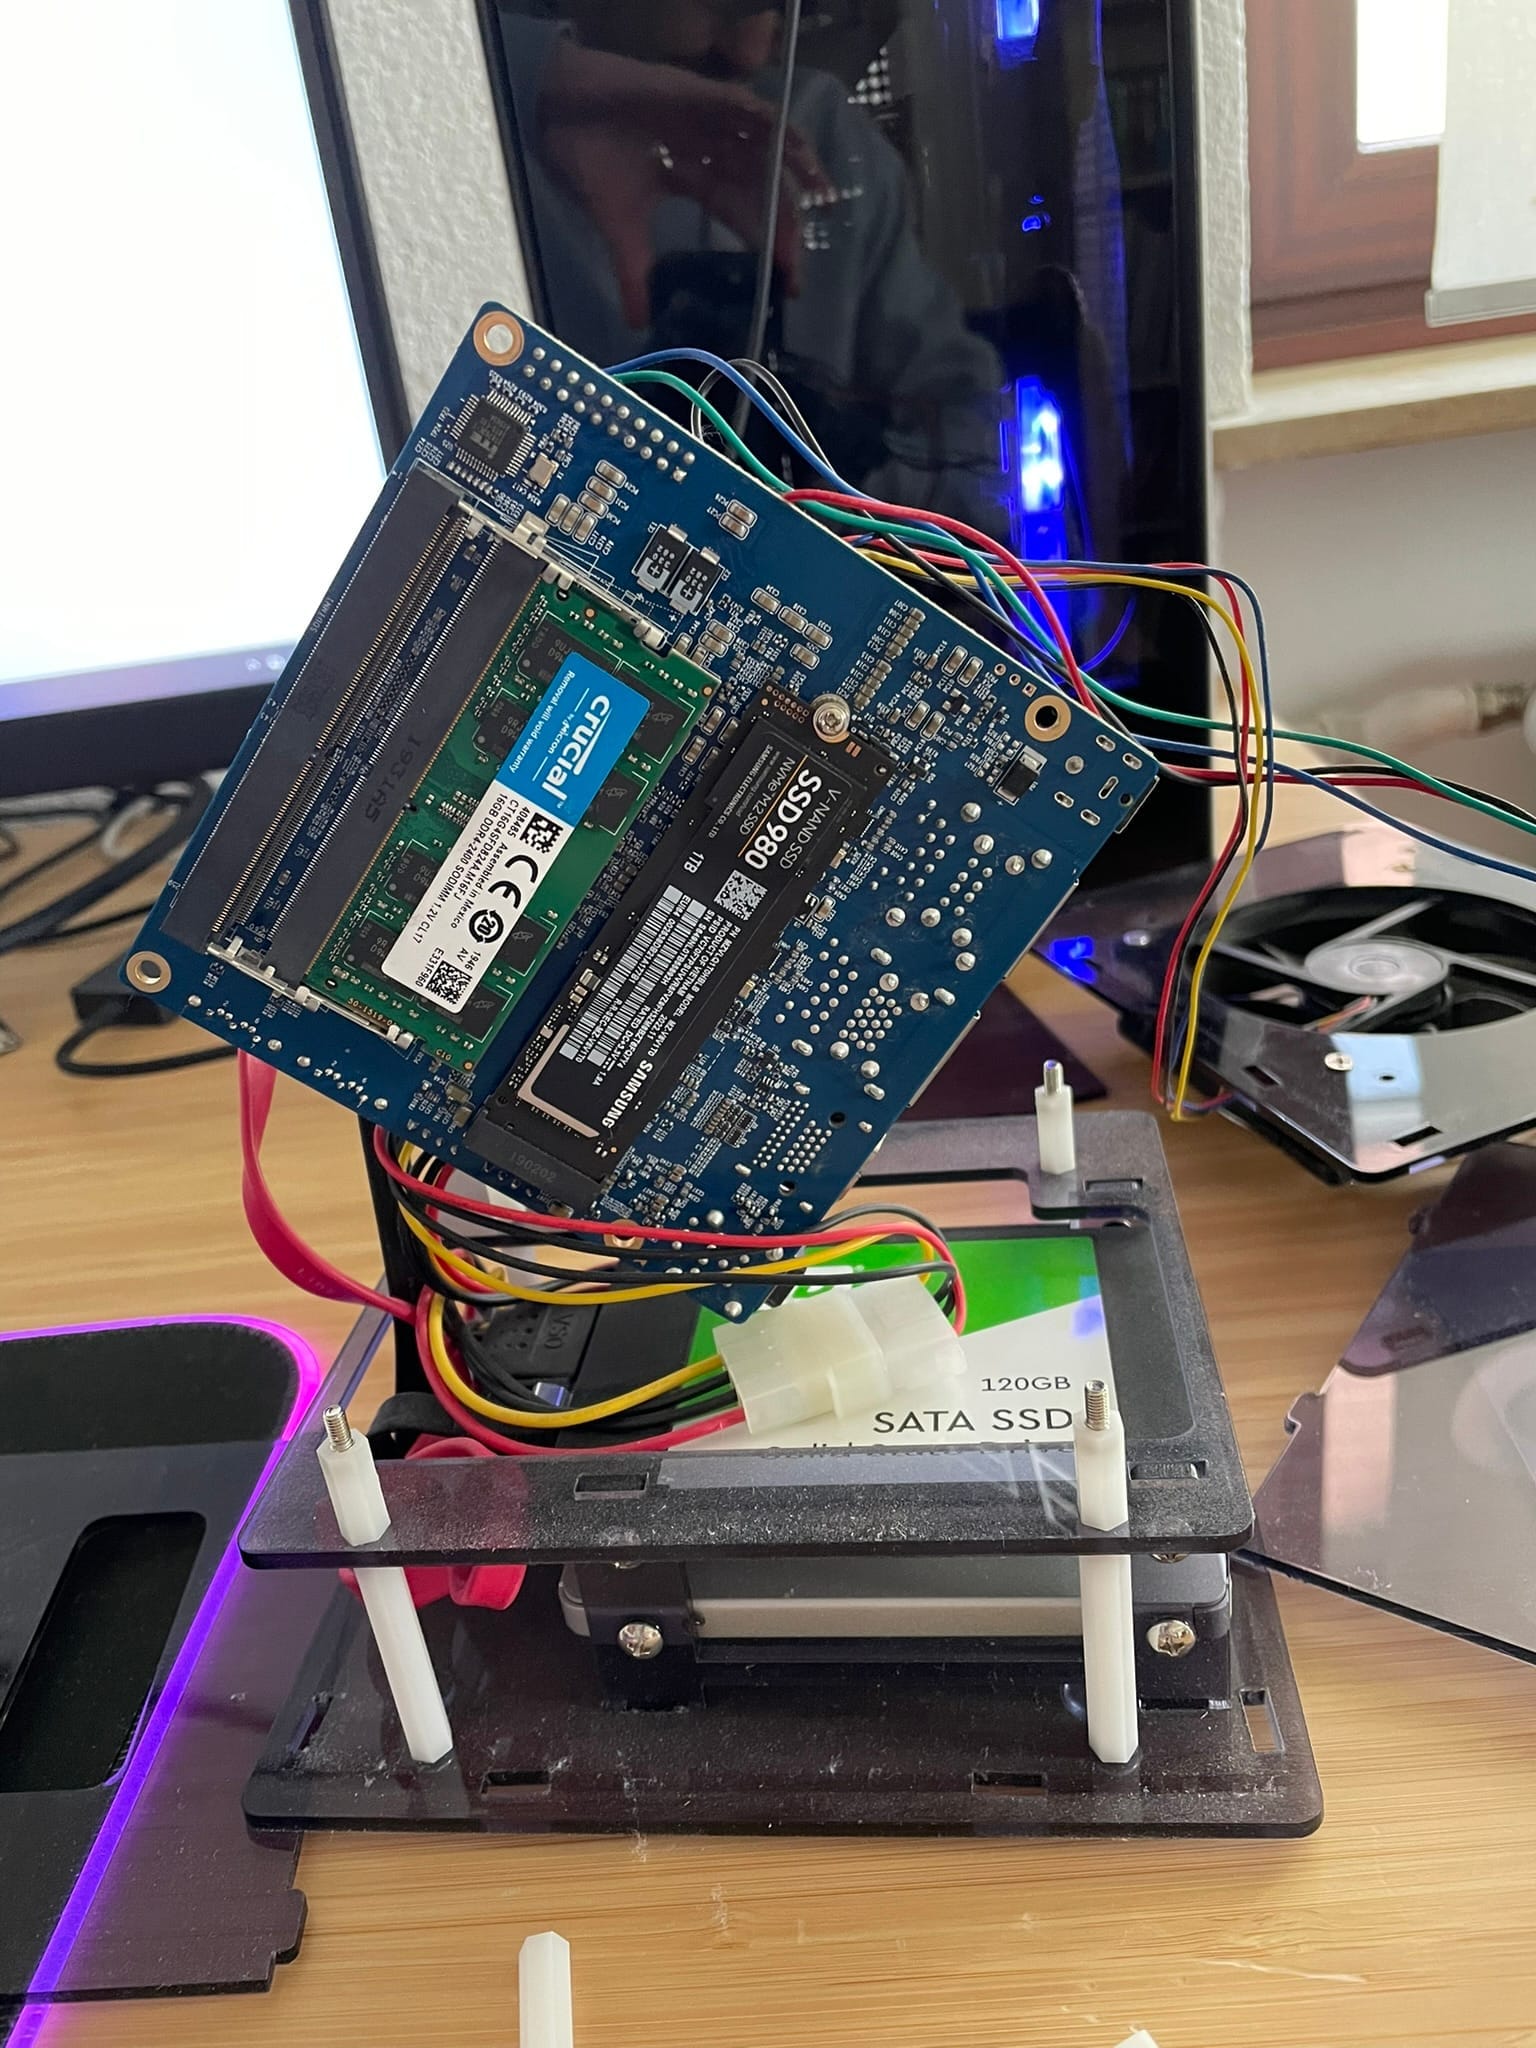
We need to get to the bottom of the board. This is where the M.2 slot is located. Also nice on the H2 is that you can pop in a second RAM module. Will probably do this soon too.
We simply plug the extension cable into the M.2 card and screw it tight. I used one of the screws from the board for this.
The other end goes into the M.2 slot on the H2 board.
Finally we just power on to see if everything still works. All good. My NVMe drive is recognized and the pool is Online. If you wonder why I mixed an NVMe drive with SATA, this is because I had one 1TB STA and one NVMe drive available. TrueNAS is installed on a small 128GB SATA drive.
What’s Next?
In my next post, I’ll be installing three 2TB NVMe drives and running some benchmarks to see how well they perform in this setup. Stay tuned!