TrueNas - Upgrading my Hardkernel Odroid H2: Finding the Right Balance Between NVMe and SATA Storage

In my previous blog post, I discussed upgrading my Hardkernel Odroid H2 with four NVMe drives, pushing the limits of what was considered possible. This time, I want to share my final storage configuration and why I decided to mix NVMe and traditional spinning disks instead of going all-in on NVMe.
The Case for Expansion
While it was great to see the M.2 4×1 card working flawlessly after the BIOS upgrade, I quickly realized it wouldn’t fit inside the compact Odroid Case 2.
Luckily, I still had an Odroid Case 1, which provides space for two 3.5" hard drives. With a bit of effort—and thanks to a good friend with the right tools—I managed to make it fit perfectly.
Fortunately, I was able to repurpose the extra standoffs from the Type2 case.
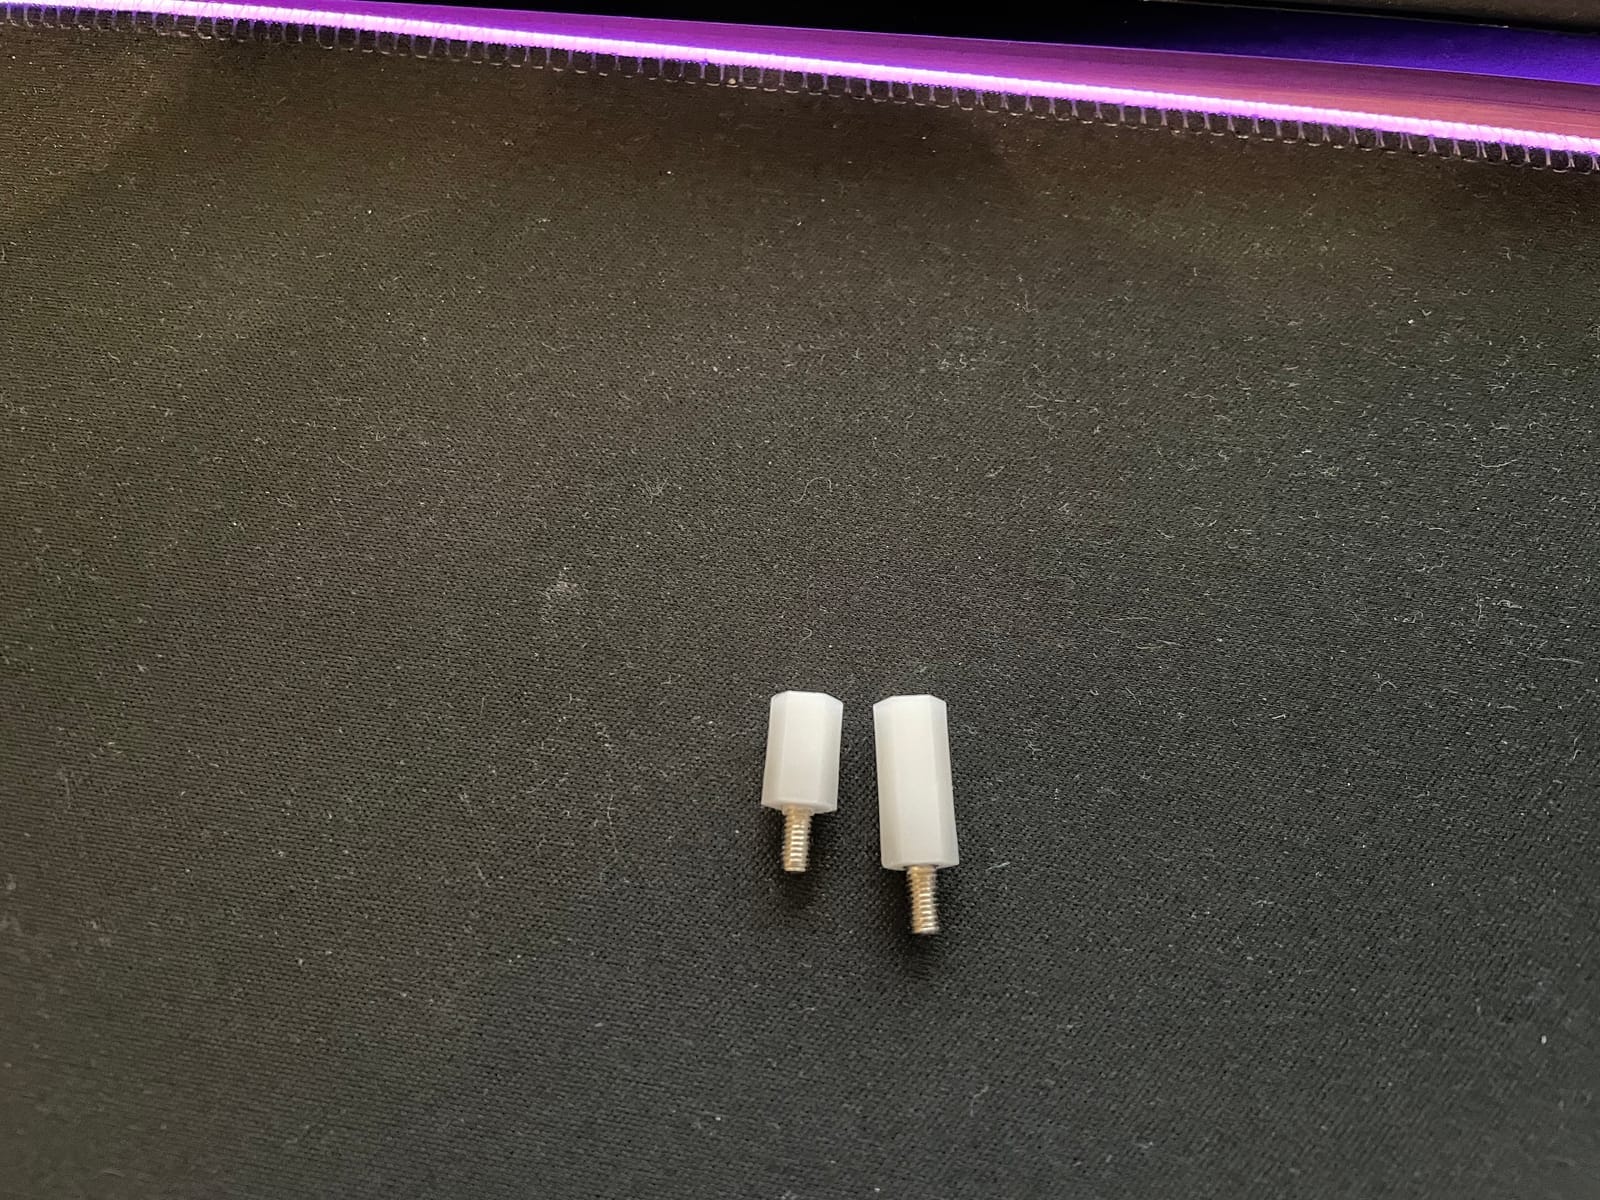
They fit perfectly under the Odroid H2 board, allowing me to securely mount the M.2 4×1 card beneath it.
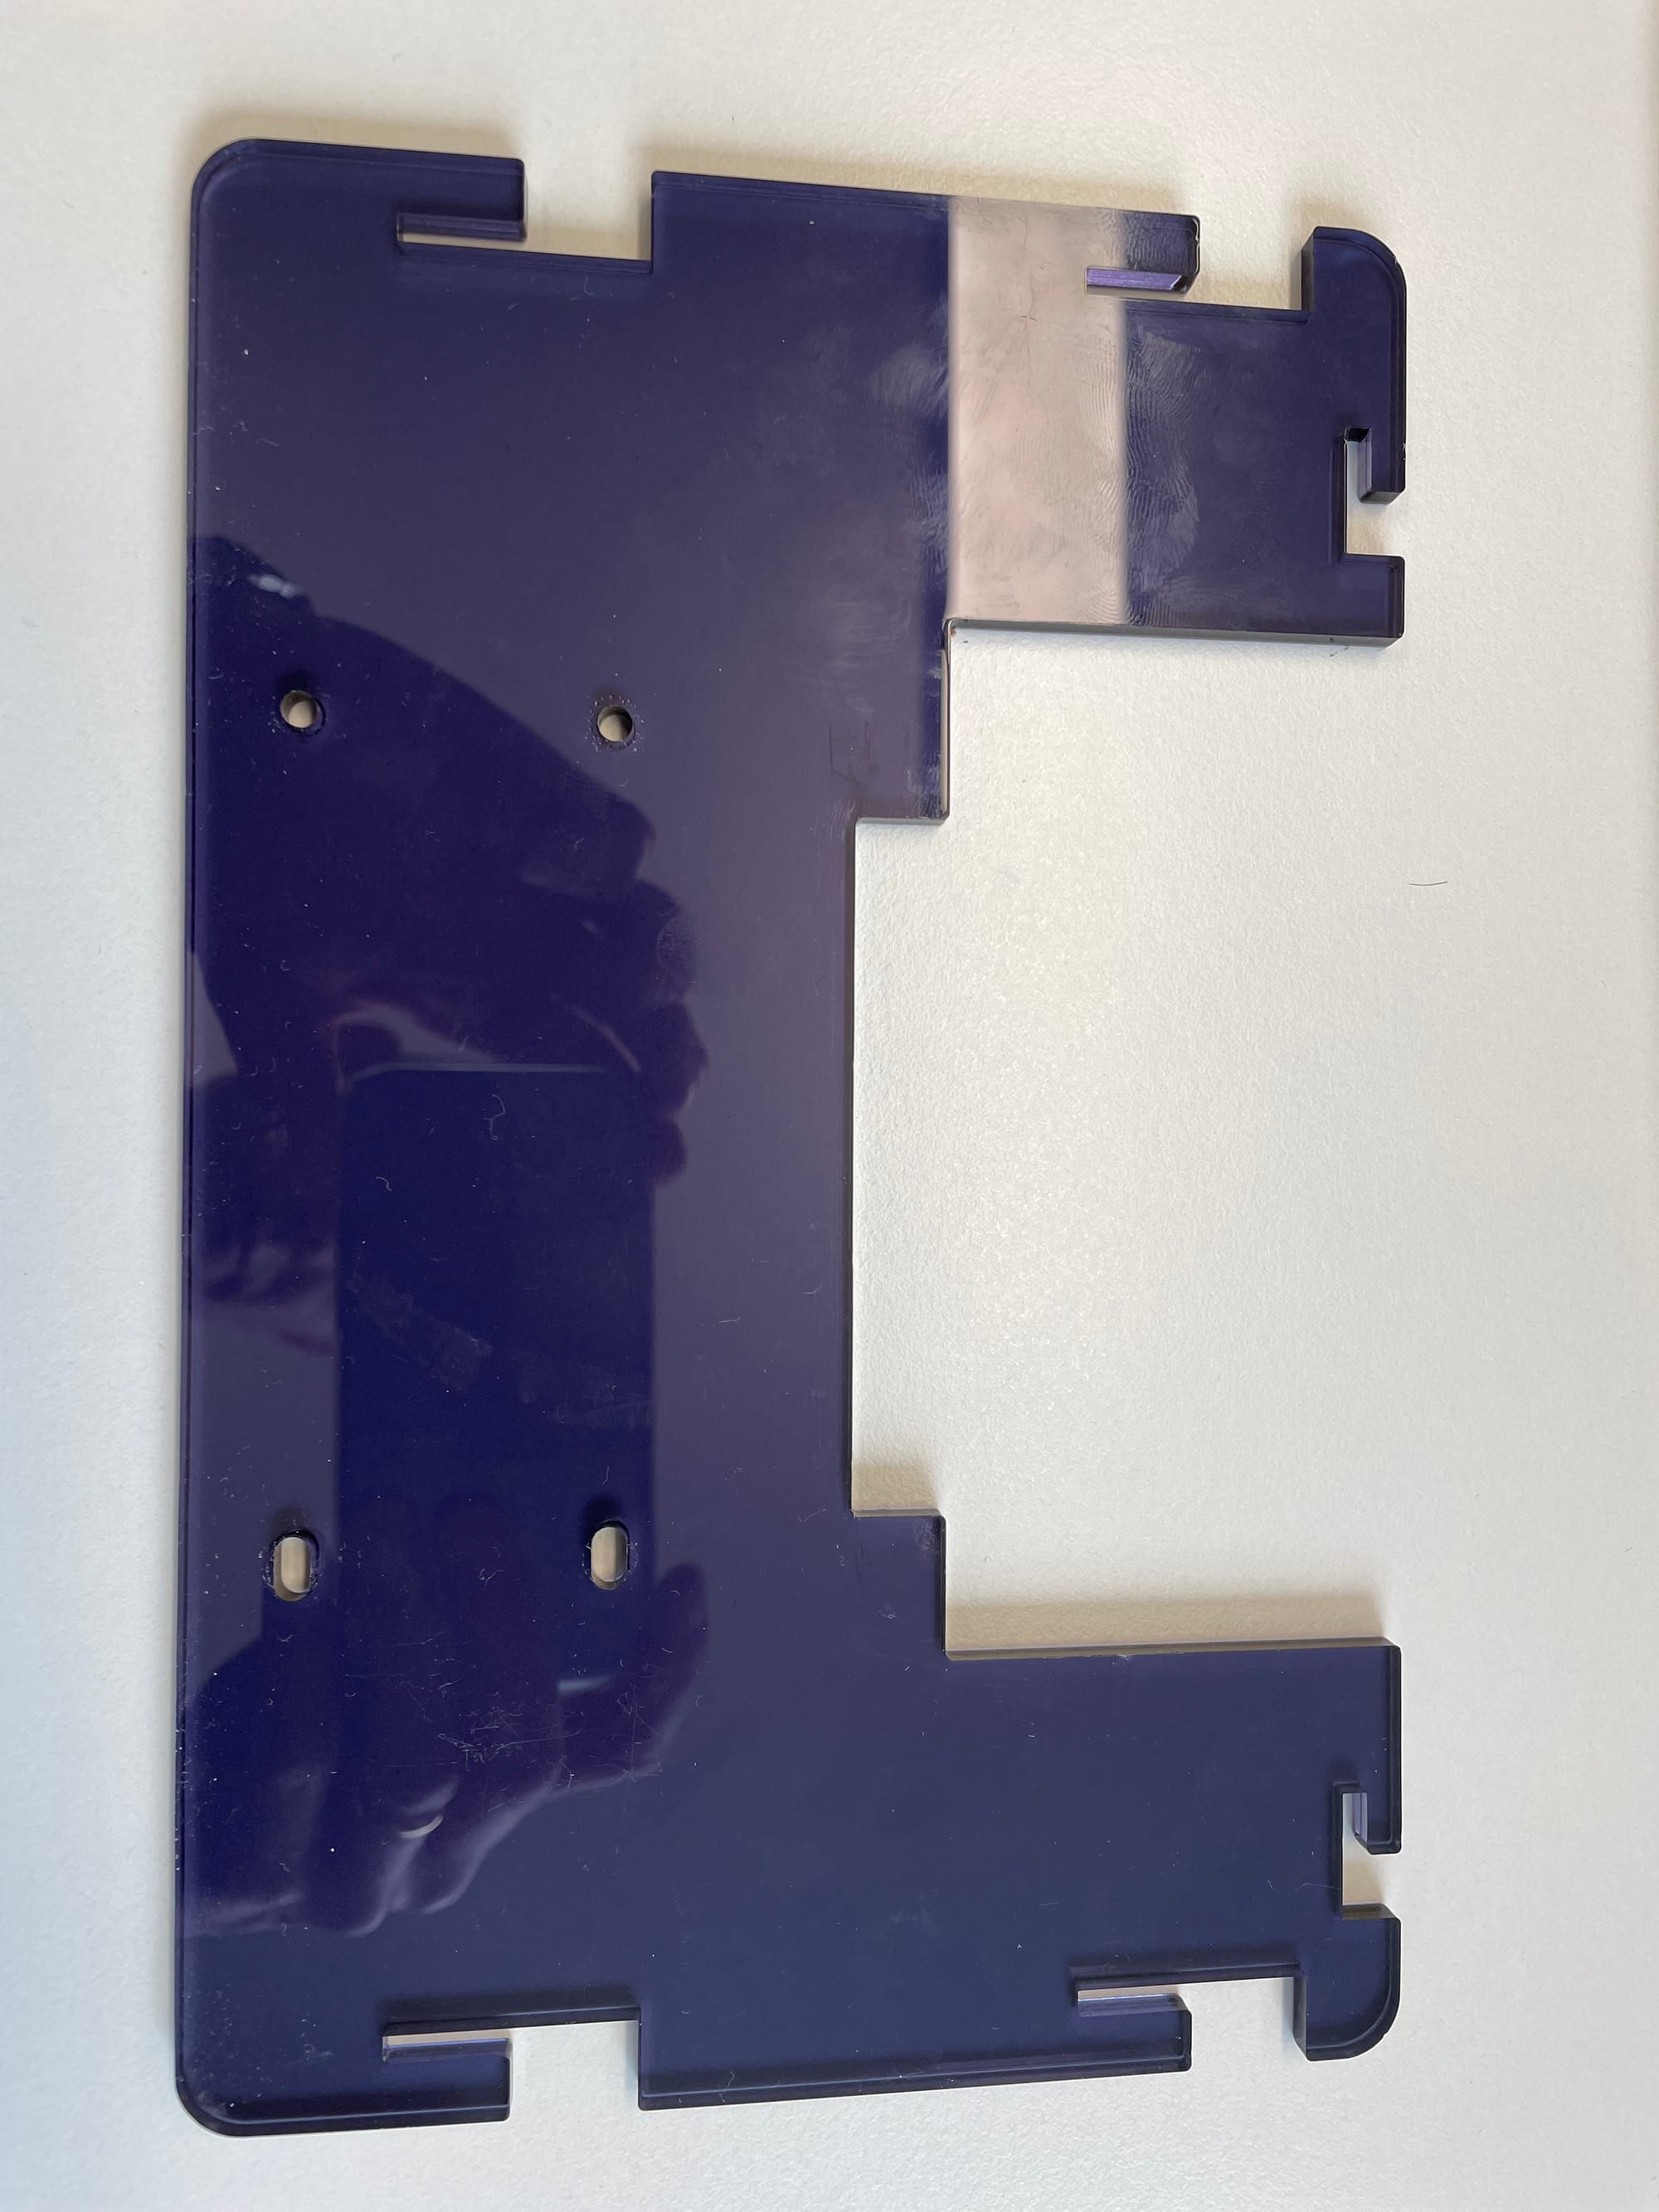
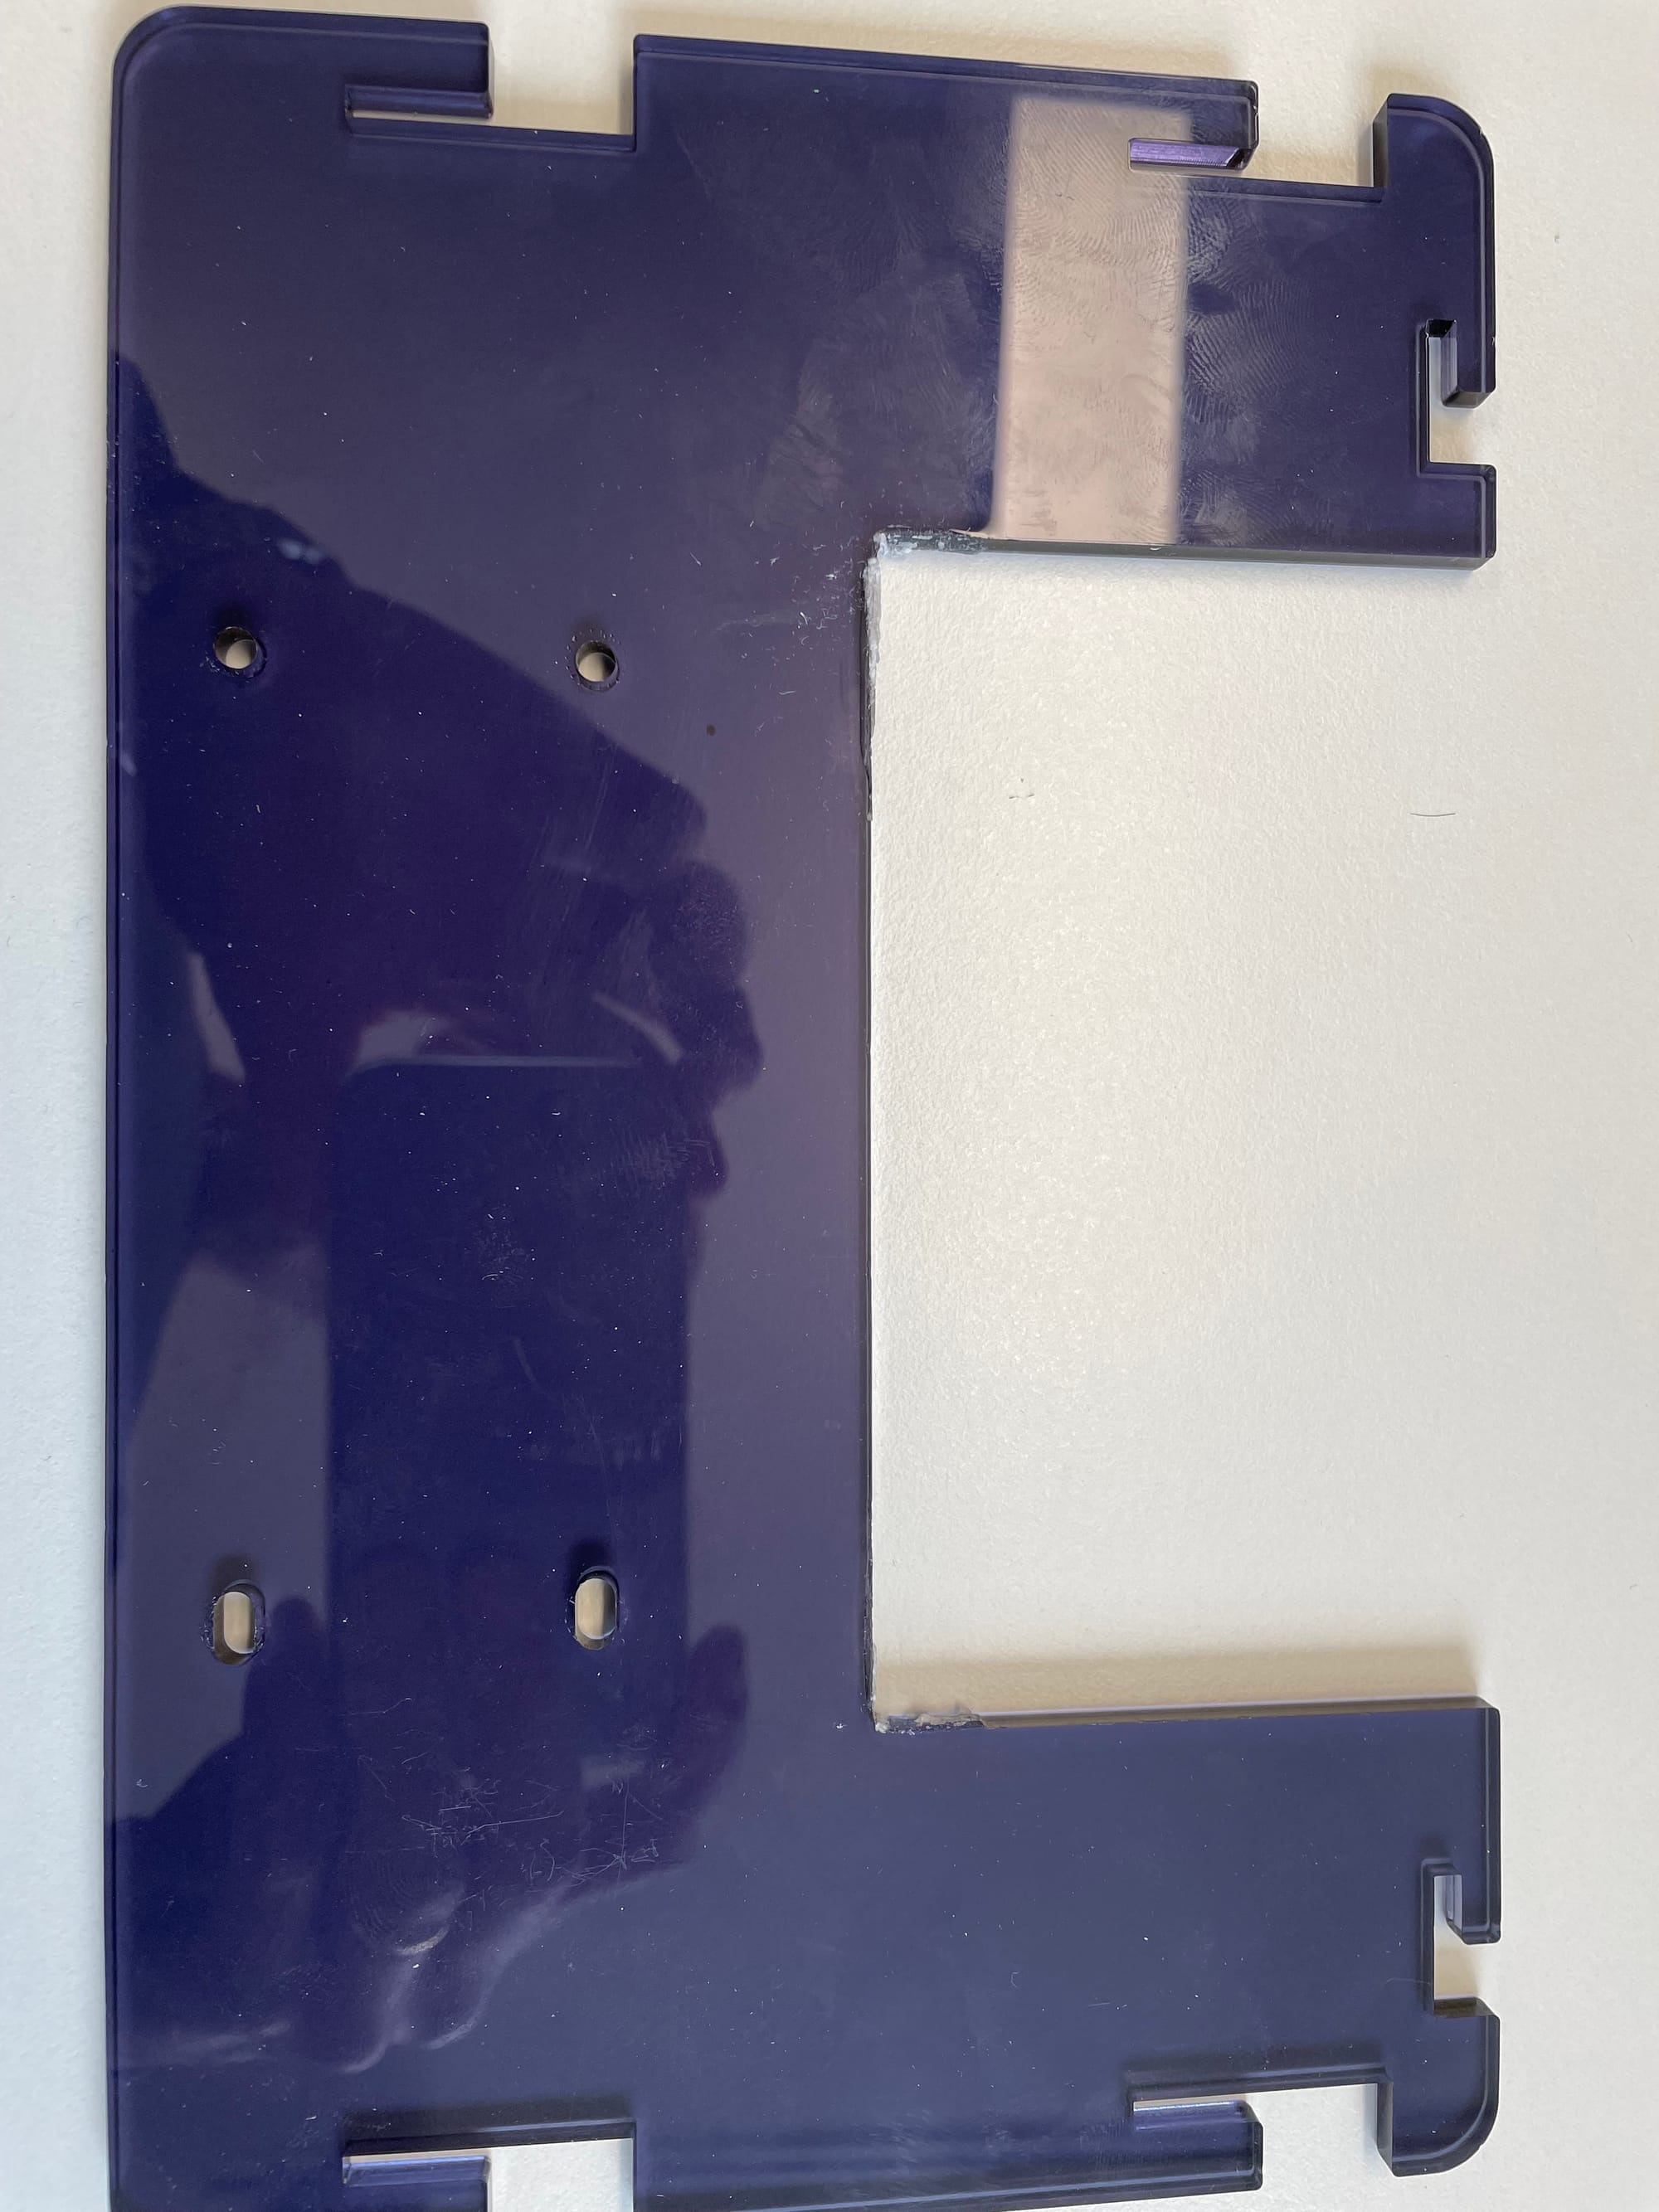
I had to cut out two small sections of the case to make everything fit properly. Once again, huge thanks to one of my best friends—not only for having the right tools but also for doing the cutting work! ?
This is before.
And this is after.
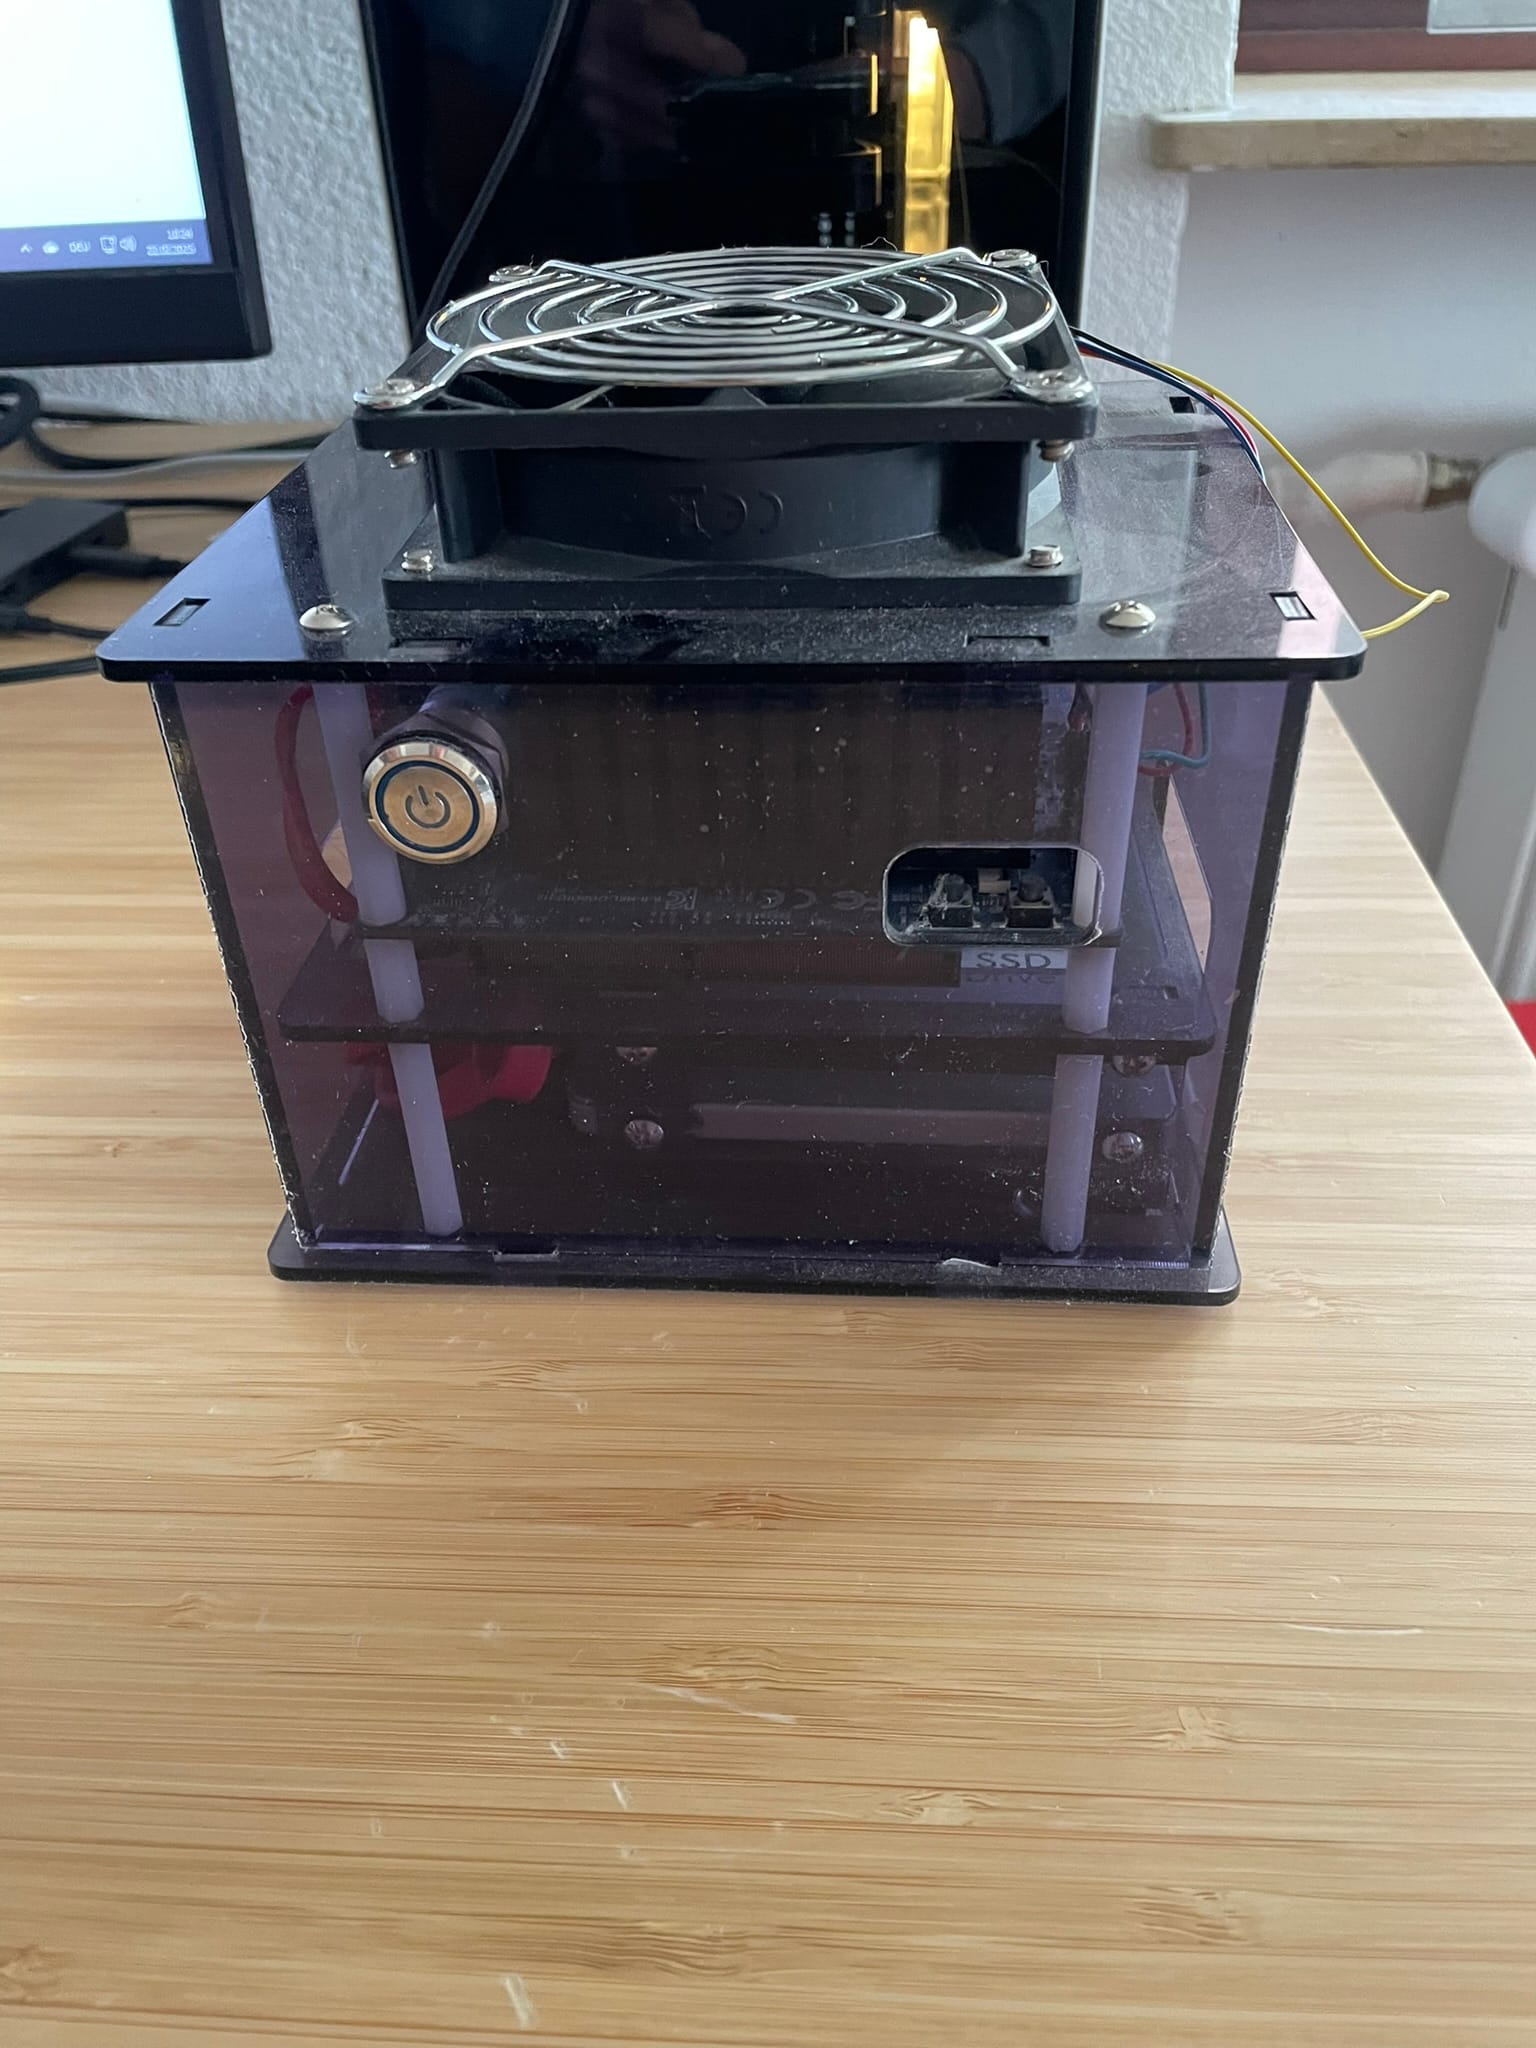
All the parts now fit perfectly fine into the Type1 case.
The Final Storage Configuration
Instead of using four NVMe drives, I opted for:
- Pool 1: Two 1TB NVMe drives for applications, jails, and potentially virtual machines.
- Pool 2: Two 2TB SATA disks for cold data storage.
- Boot Pool: A 256GB USB SSD. This is not a cheap, ordinary USB stick but a proper SSD, which is perfectly fine for a boot pool.
I chose this setup because, even today, NVMe storage remains too expensive to use for cold data. Most of my large, infrequently accessed files like photos, images, backups, scripts etc. don’t require NVMe speeds, making SATA a much more economical choice. The drives can easily be configured to remain in standby through TrueNas. And the best part is, I still had them lying around.
Performance Considerations
The performance of my Odroid H2 is ultimately limited by its 1Gbit NIC. While I have a MikroTik router board that supports bonding the two 1Gbit NICs using LACP, I don't currently have any other machine on my network with more than one NIC—except my Proxmox server. This could be an interesting topic for a future blog post, but for now, the existing setup performs exactly as expected.
Benchmarking and Real-World Performance
I ran fio tests to evaluate the storage performance, and the results aligned with my expectations. Given the 1Gbit network limitation, I’m not bottlenecked by disk speed but rather by network throughput.
Test Results
I created a dataset named 'benchtest' on both pools with sync=standard. For benchmarking, I used yabs.sh—a simple yet powerful shell script that measures various performance metrics.
NVMe Pool:
fio Disk Speed Tests (Mixed R/W 50/50) (Partition zpool0/benchtest):
---------------------------------
Block Size | 4k            (IOPS) | 64k           (IOPS)
  ------   | ---            ----  | ----           ----
Read       | 16.72 MB/s    (4.1k) | 216.63 MB/s   (3.3k)
Write      | 16.72 MB/s    (4.1k) | 217.77 MB/s   (3.4k)
Total      | 33.45 MB/s    (8.3k) | 434.41 MB/s   (6.7k)
           |                      |
Block Size | 512k          (IOPS) | 1m            (IOPS)
  ------   | ---            ----  | ----           ----
Read       | 574.16 MB/s   (1.1k) | 392.11 MB/s    (382)
Write      | 604.67 MB/s   (1.1k) | 418.22 MB/s    (408)
Total      | 1.17 GB/s     (2.3k) | 810.33 MB/s    (790)
SATA Pool:
fio Disk Speed Tests (Mixed R/W 50/50) (Partition zpool_rust/benchtest):
---------------------------------
Block Size | 4k            (IOPS) | 64k           (IOPS)
  ------   | ---            ----  | ----           ----
Read       | 5.02 MB/s     (1.2k) | 48.85 MB/s     (763)
Write      | 5.04 MB/s     (1.2k) | 49.16 MB/s     (768)
Total      | 10.06 MB/s    (2.5k) | 98.02 MB/s    (1.5k)
           |                      |
Block Size | 512k          (IOPS) | 1m            (IOPS)
  ------   | ---            ----  | ----           ----
Read       | 99.21 MB/s     (193) | 85.71 MB/s      (83)
Write      | 104.48 MB/s    (204) | 91.42 MB/s      (89)
Total      | 203.70 MB/s    (397) | 177.14 MB/s    (172)
Conclusion: The Joy of DIY Upgrades
Once again, this upgrade was an adventure—pushing the limits of my device and fine-tuning it to suit my needs. While going fully NVMe was tempting, I found that a balanced mix of NVMe and SATA offered the best compromise between speed and capacity.
Who would I recommend this upgrade to? If you're looking for a budget-friendly NAS with support for four NVMe and two SATA drives, I can highly recommend this setup. Running TrueNAS opens up a world of possibilities, from hosting small VMs and containers to managing storage efficiently, all through a well-structured and solid WebUI. For me, it remains the perfect NAS operating system.
Best of all, the entire upgrade only cost me around €150—money well spent for the performance and flexibility gained!
Stay tuned for more updates—perhaps a deep dive into network bonding next time!